ASUS Maximus VII Impact Review: Premium Gaming Z97 in mini-ITX
by Ian Cutress on December 9, 2014 10:00 AM ESTASUS Maximus VII Impact BIOS
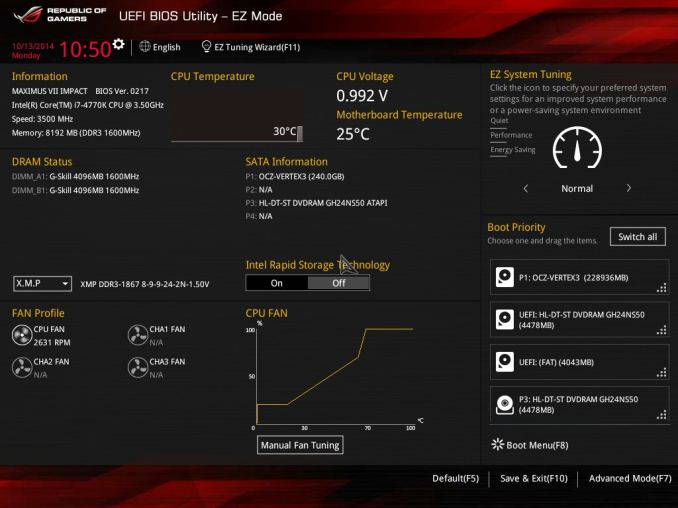
The last ROG motherboard we reviewed was the Rampage IV Black Edition at the beginning of the year which brought a few of ASUS’ newer features to the X79 platform at the time. Fast forward almost a year and we get a big change all around. The main difference will be that ASUS now uses different fonts for different parts of the BIOS, allowing certain screens like EZ Mode and SPD Information to show more information on the screen at one time. The red and black ROG theme is here as well.
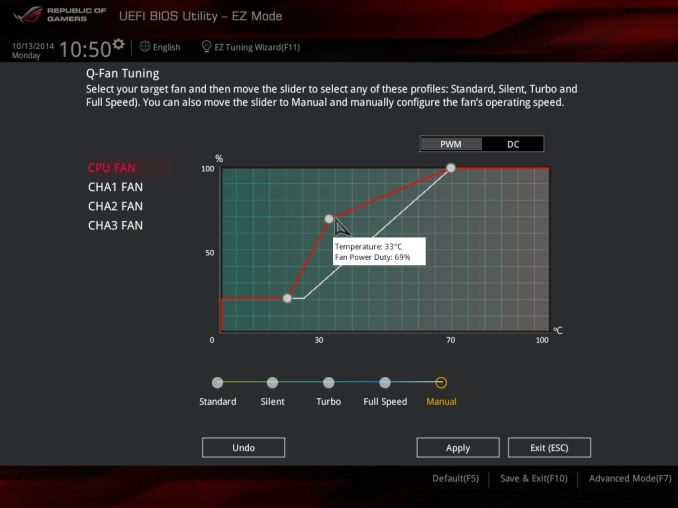
In the EZ Mode is the name of the motherboard, the BIOS version, the CPU installed, the speed of the CPU, the memory installed in each DIMM slot, the speed of the memory, the CPU temperature as a graph (useful if you forget to plug the CPU fan in), the CPU voltage, the motherboard temperature, a per-SATA port run down of what is attached, an option to enable XMP, the current fan speeds, a quick overview of the fan profile, a section for EZ System Tuning and Boot Priority. As far as lists for the front page of a BIOS go, that list is pretty extensive and complete. For a system builder or debugger, this is a lot of information all at once on the first screen. Users have several options here, including selecting to manually adjust the fans:
For each fan header we can control it by DC or PWM, and either use one of the preselected fan profiles underneath the graph or select manual and adjust a three point gradient. Three points is OK for a custom gradient, although an option to set all fans to the same profile at once would be handy.
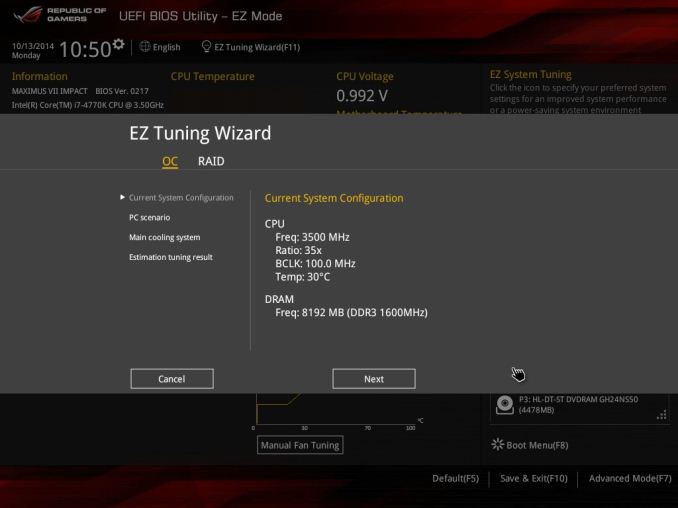
Also on the EZ Mode screen, by pressing F11 or selecting the option at the top, is the EZ Tuning Wizard.
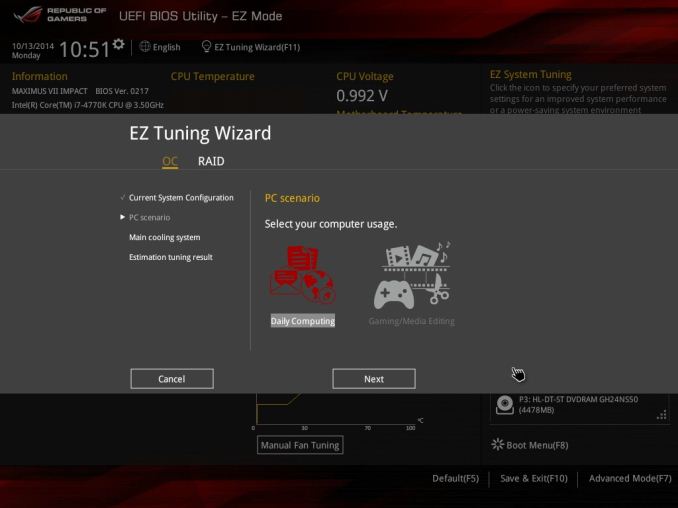
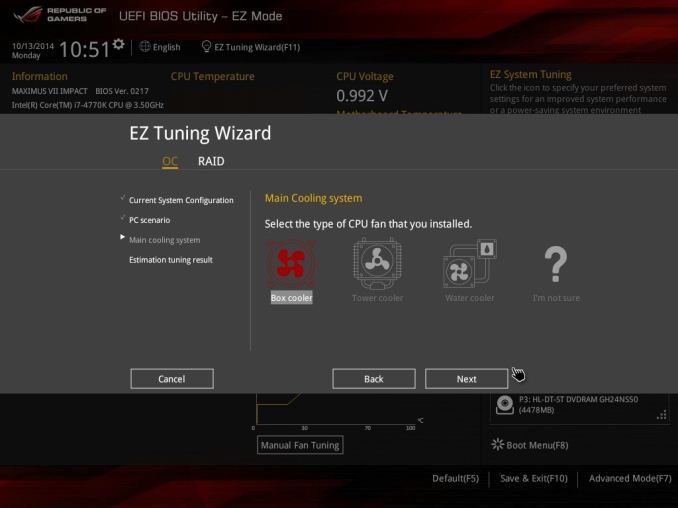
This interface is for users to set up either a quick RAID solution or for a quick overclock. In terms of the overclock selections, it first shows the current system arrangement as above, and then asks about the typical CPU usage:
Then the cooling:
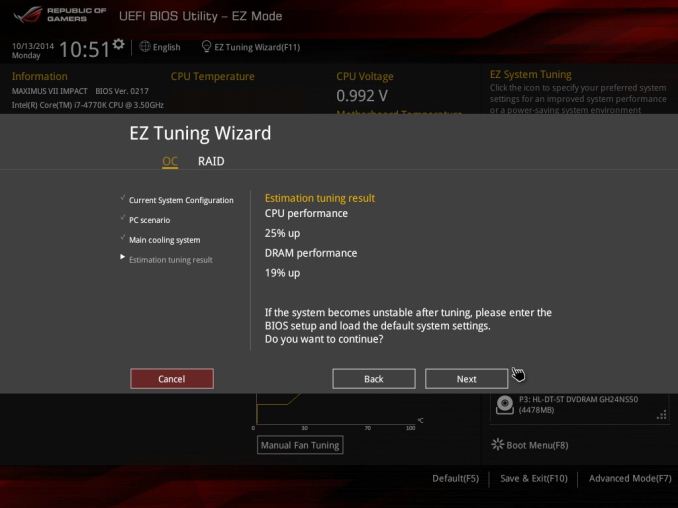
With this information at hand, it will give a final overclock prediction for the system which can be implemented with a restart.
Here it offers a 25% overclock on the CPU (3.5 GHz to 4.375 GHz) and 19% on the memory (DDR3-1600 to DDR3-1904).
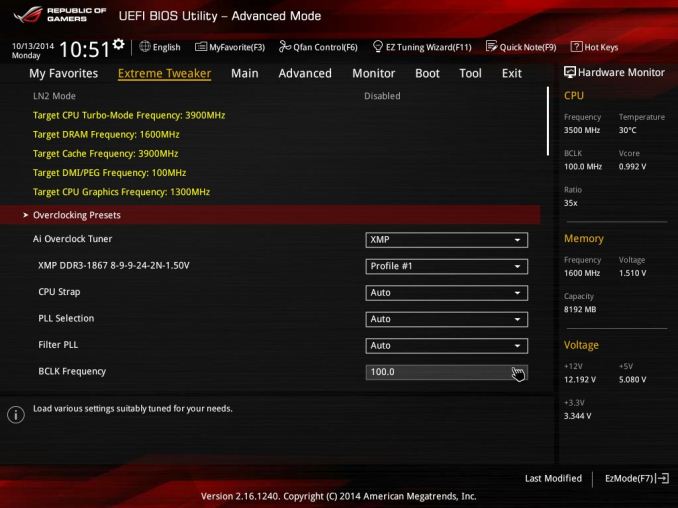
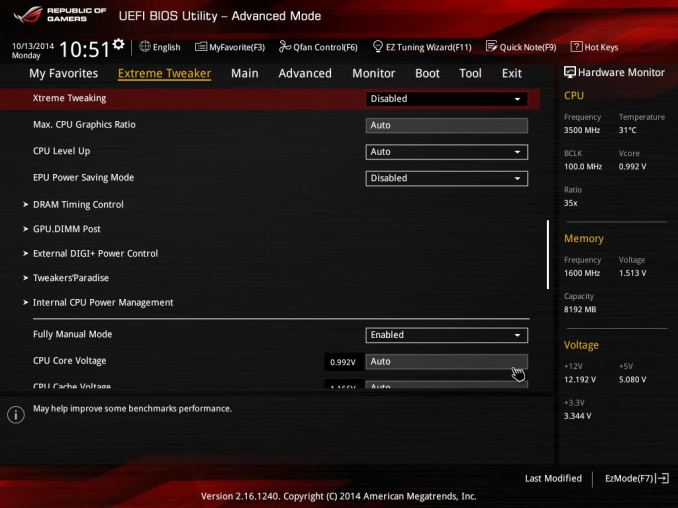
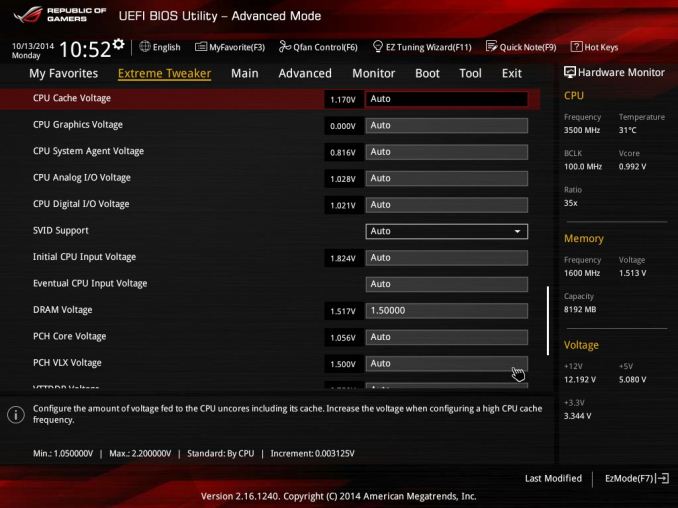
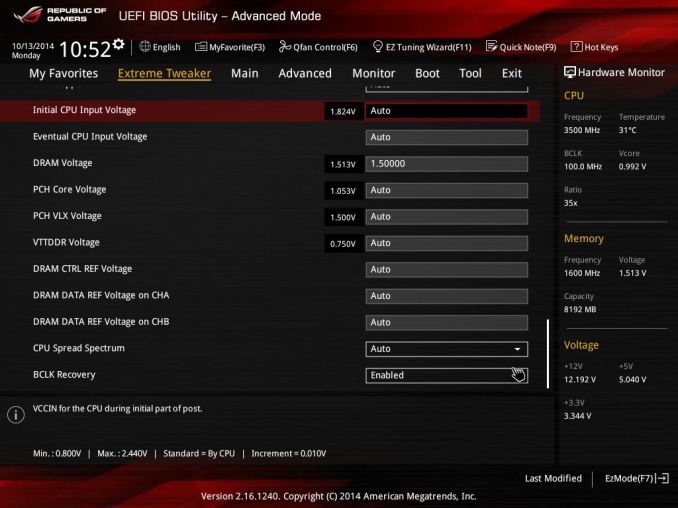
ASUS puts all the juicy options for extreme overclocking in the advanced menu. We get taken straight into the Extreme Tweaker section:
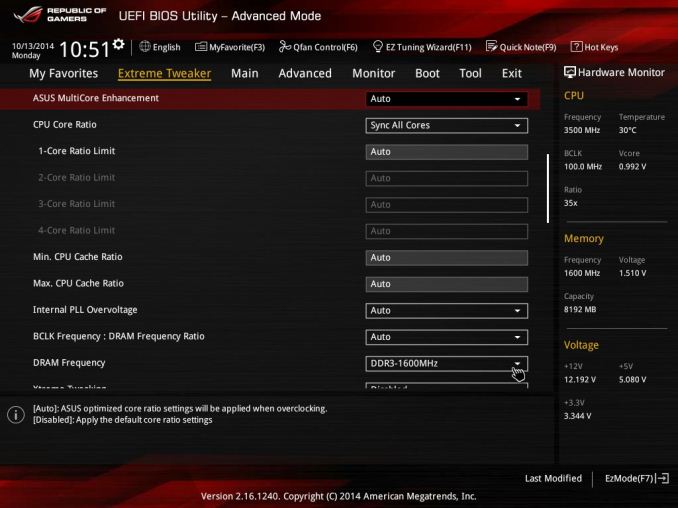
The Extreme Tweaker initial menu contains a lot of the interesting options for overclocking, although some of them will be quite foreign. Motherboard manufacturers are currently in a decision making process whether to offer all the overclocking options in one single menu, or partition it off into sections. Due to the sheer number of options, sometimes the result is the mix between the two, such as here on the Impact.
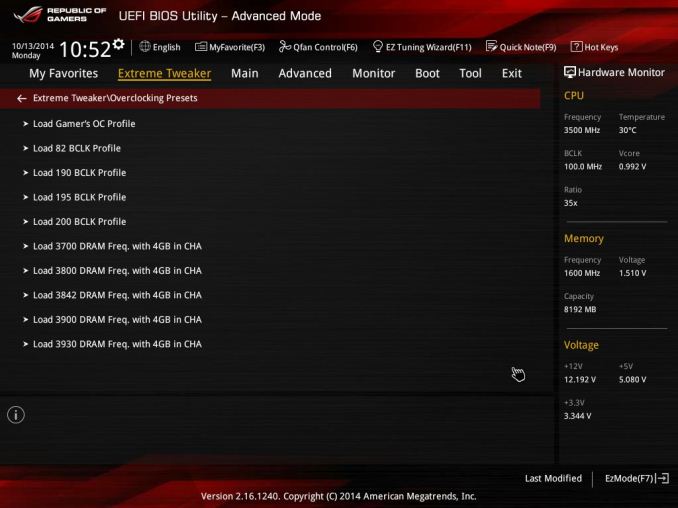
Right off the bat we are given the indication that LN2 Mode is disabled and the first option is a series of overclocking presets:
For users with sufficient knowledge and cooling, these presets adjust some of the more obscure settings to a better default value in order to help break records.
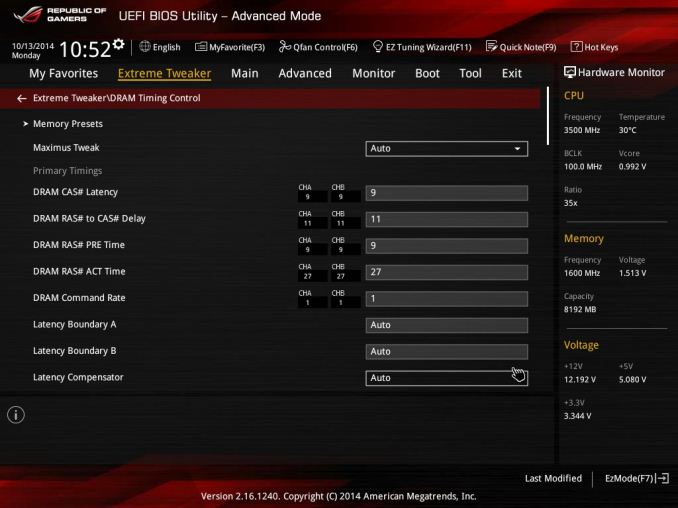
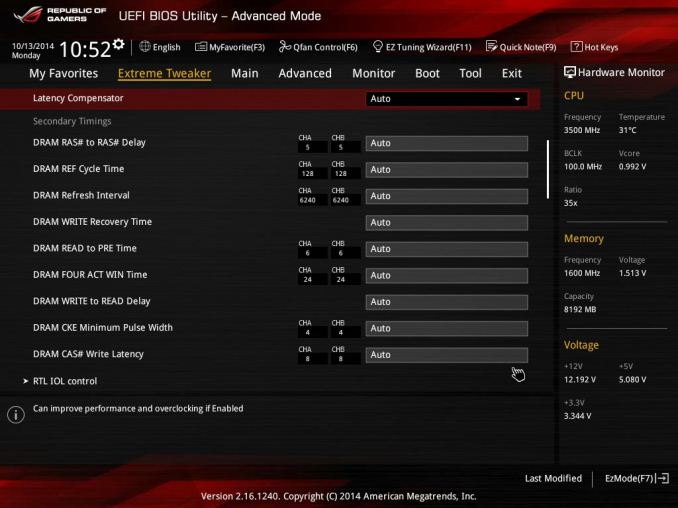
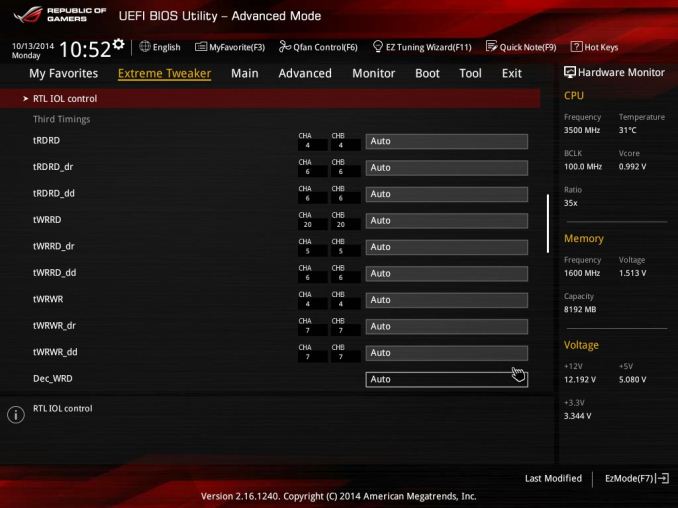
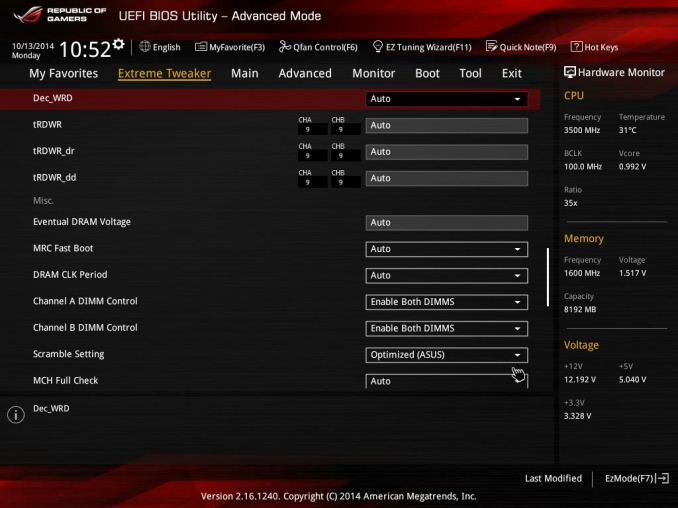
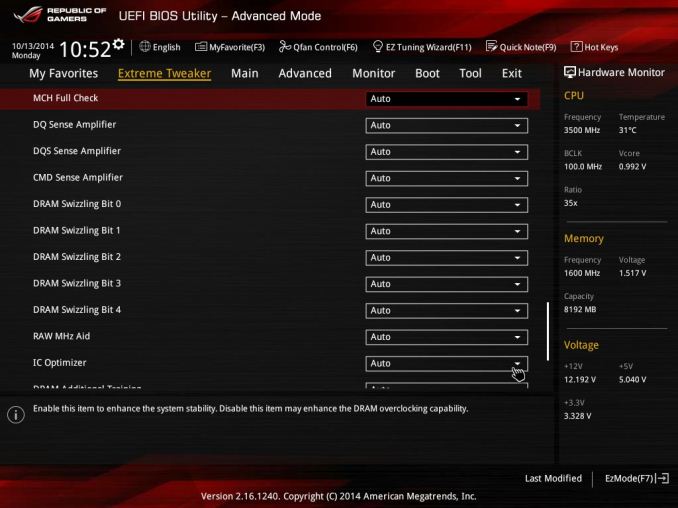
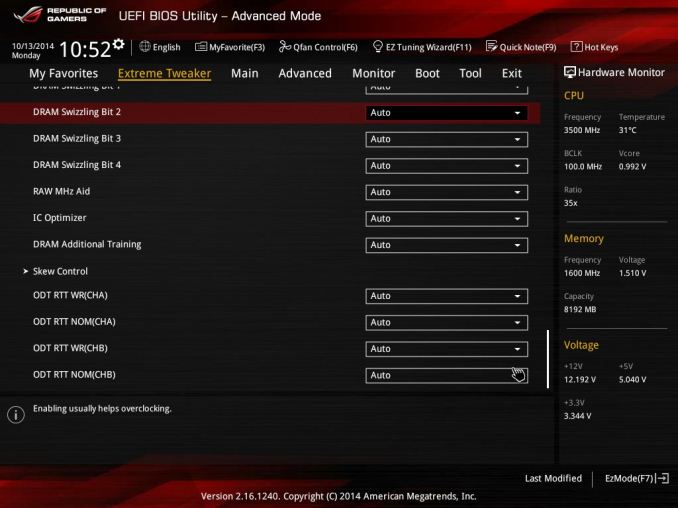
The DRAM Memory timing options are equally as verbose as the Extreme Tweaker selection:
Six screens of DRAM options for 99.99% of owners is a bit manic, however there will be one user who might be able to squeeze out that extra MHz for a record to hang on ASUS’ wall. ASUS often produces overclocking guides for their BIOSes, so it might be worth heading over to the ROG forums to have a look for one.
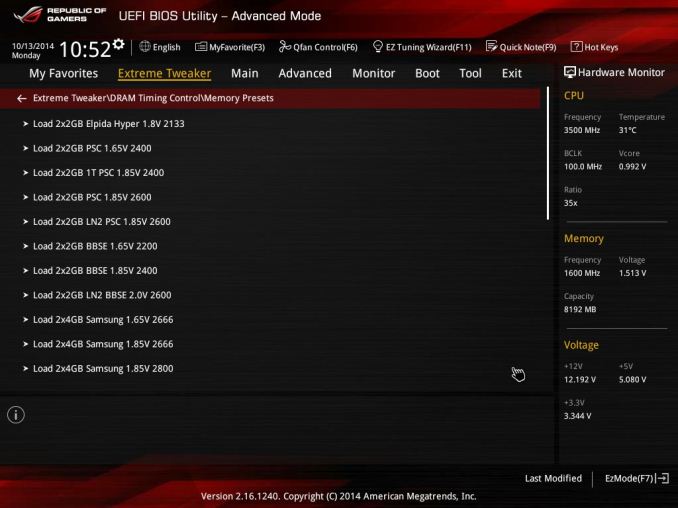
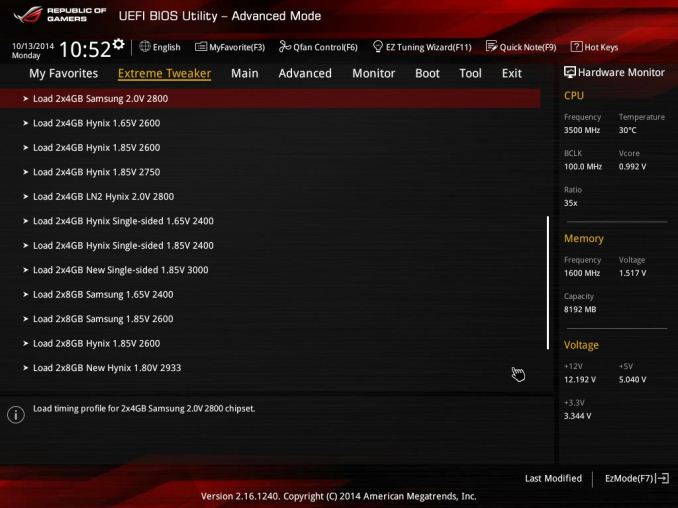
In the DRAM menu we also get a series of options for memory presets:
Professional overclockers often have access to the best memory kits in the business, especially the rare or expensive ones. ASUS has a number of extreme overclockers internally to help drive these presets.
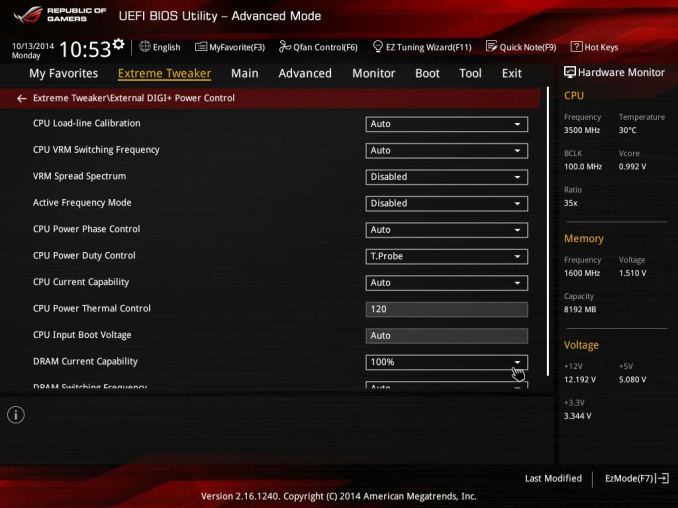
Digital Power control is also in the Extreme Tweaker section of the BIOS, with Load Line Calibration and VRM Switching frequencies being important options right at the top. A lot of these options are also in the operating system software.
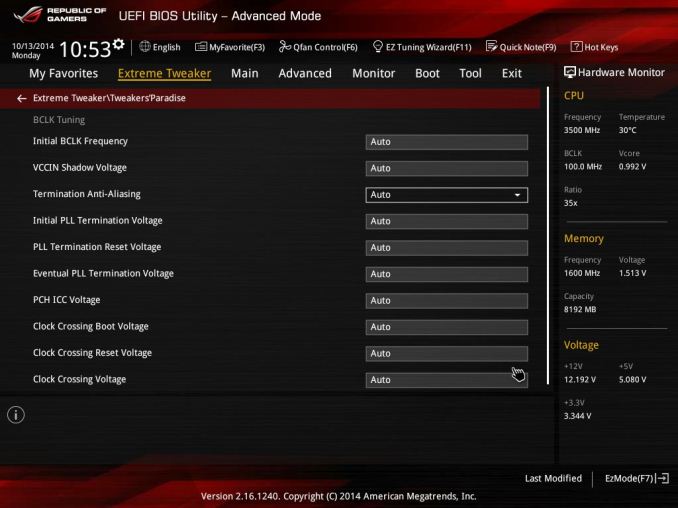
If all the overclocking and DRAM options were not enough, there is another page for the ‘Tweakers’ Paradise’. Again, best refer to the ASUS ROG overclocking guide on this one.
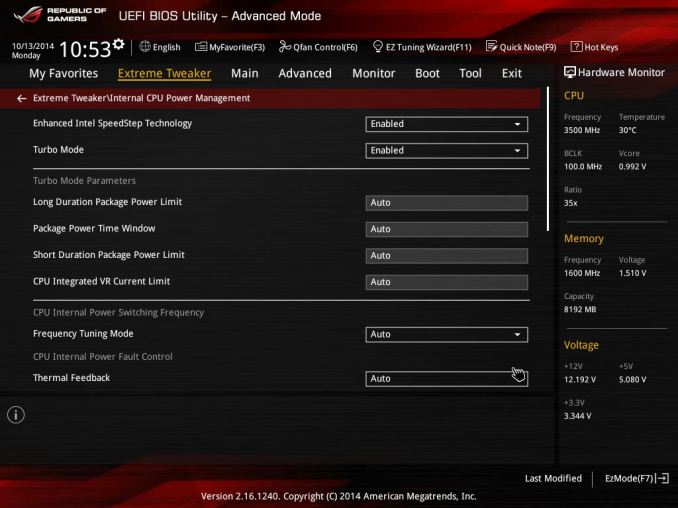
Some of the CPU Power Management tools are here in Extreme Tweaker too, useful for turbo modes and power limits.
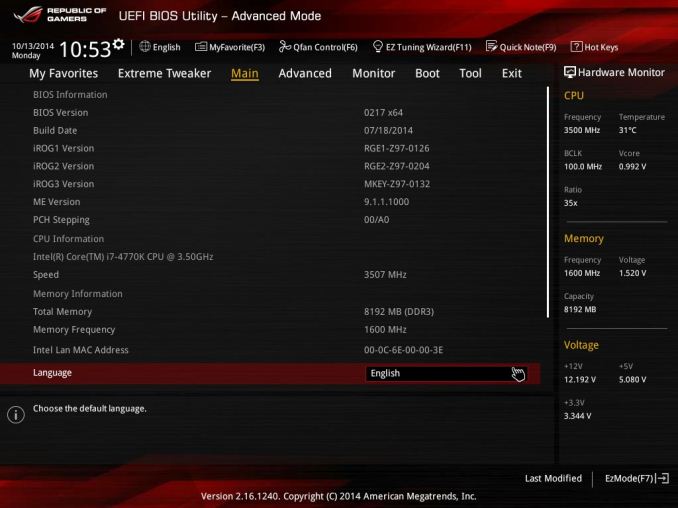
Moving away from the overclocking options puts us on the Main tab, giving the BIOS version of the board as well as the CPU name, speed, ME version, MAC Address of the NIC and memory info. This is more the entry screen we are used to without an EZ Mode, but it is worth noting that the three ROG ICs used for ASUS’ ROG line are all mentioned here as well with their respective version designations.
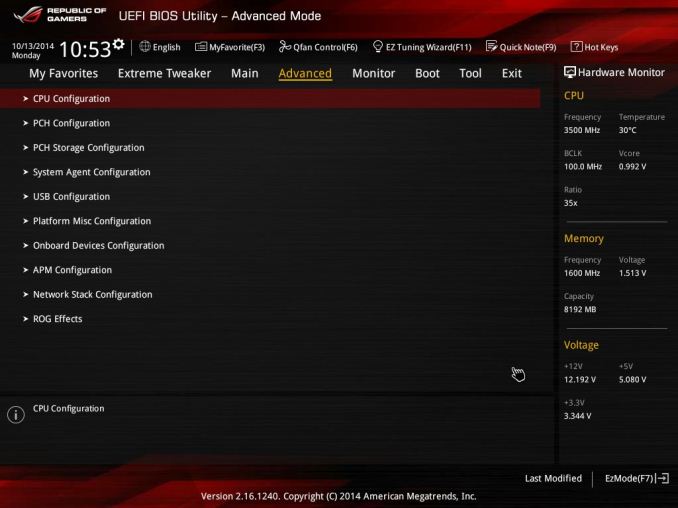
The Advanced tab fills out most of the rest of the BIOS, giving more options related to non-overclocking related tools such as controllers, PCIe operation, onboard devices and ROG custom effects.
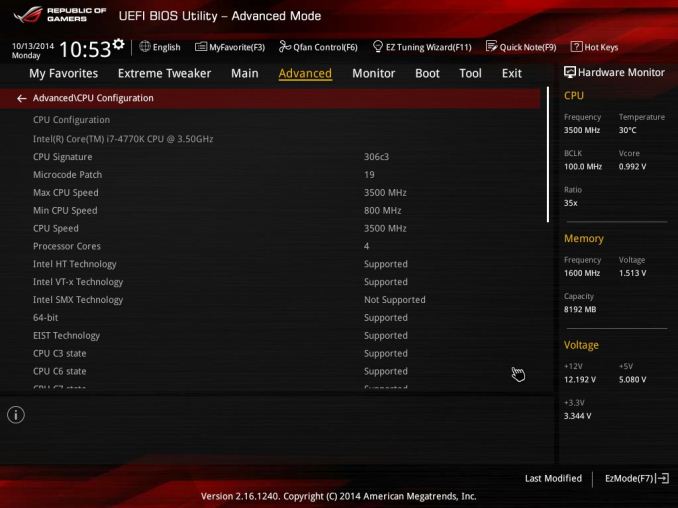
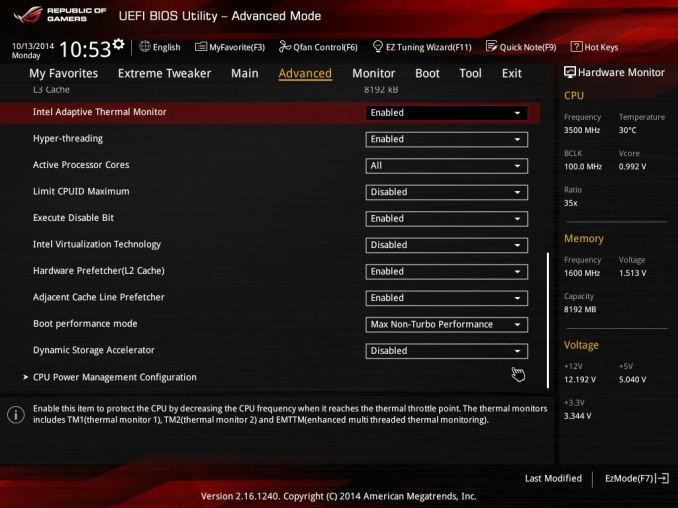
The CPU Configuration menu allows users to enable VT-d or adjust the number of cores in operation. The Dynamic Storage Accelerator, to keep the storage in a high power mode for best performance, is disabled by default.
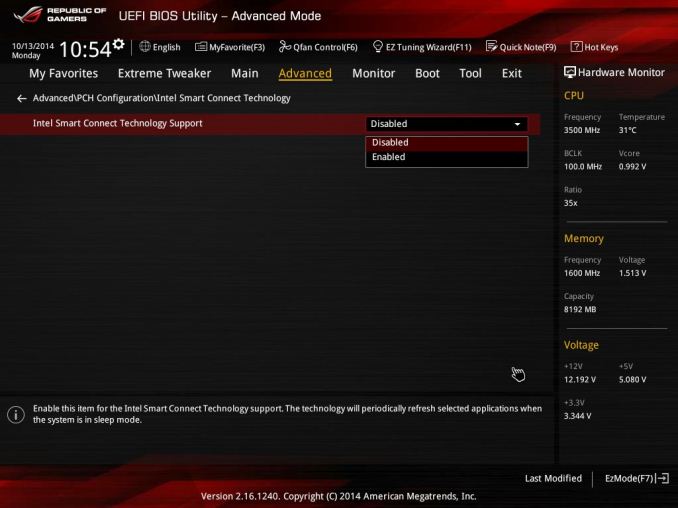
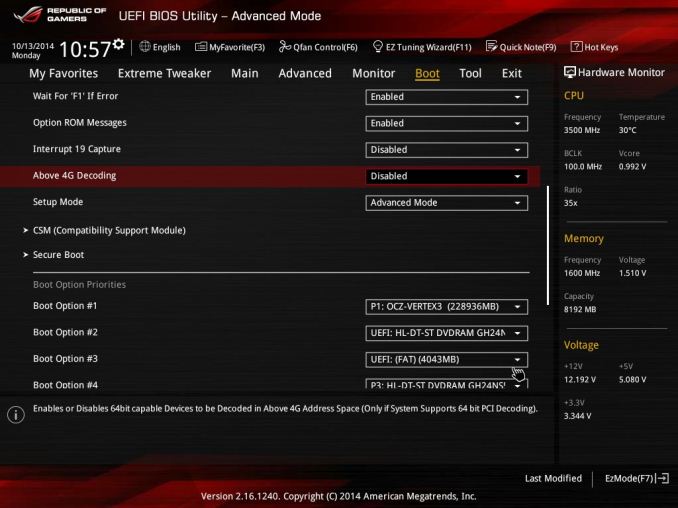
In the BIOS both RST and Smart Connect Technology are disabled by default, as well as Above 4G Decoding for GPU co-processors.
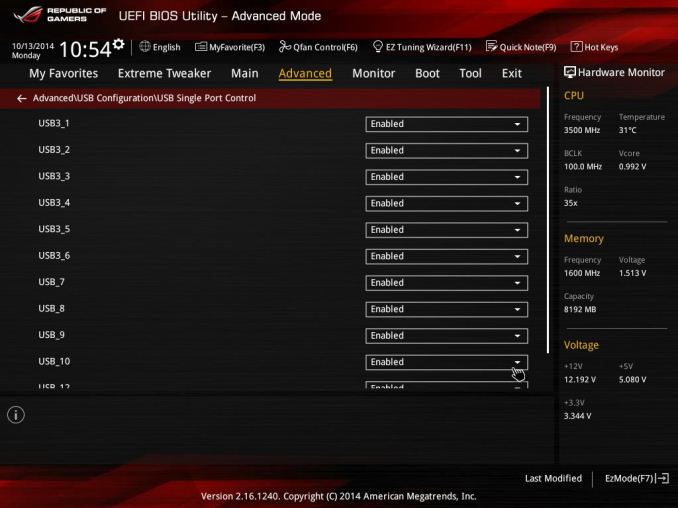
Each of the USB ports can be controlled manually, allowing system builders to save power or to adjust how USB ports are used if one of them fails:
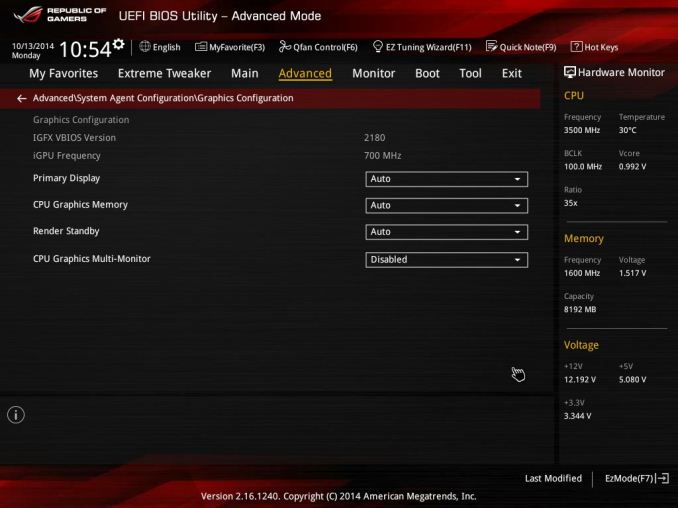
Also by default the system has CPU Graphics Multi-Monitor disabled:
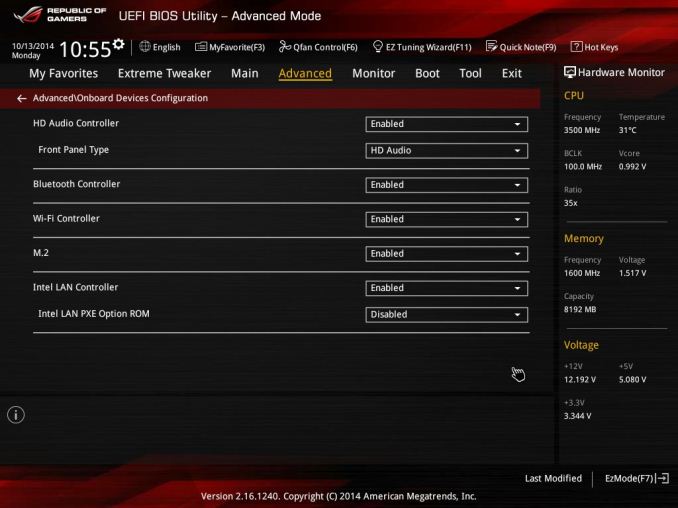
However all the directly usable onboard devices are enabled:
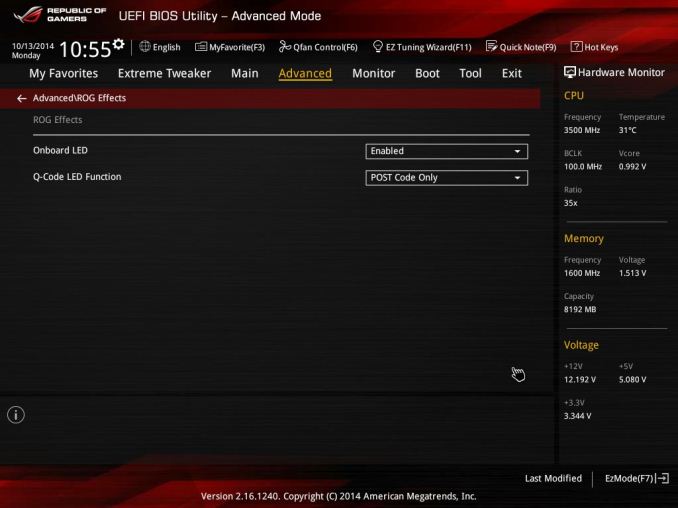
The ROG Effects option relates towards the Onboard LEDs and the Q-Code dual digit debug LED on the rear panel:
Users can disable this if they want fewer lights enabled when the system is powered on.
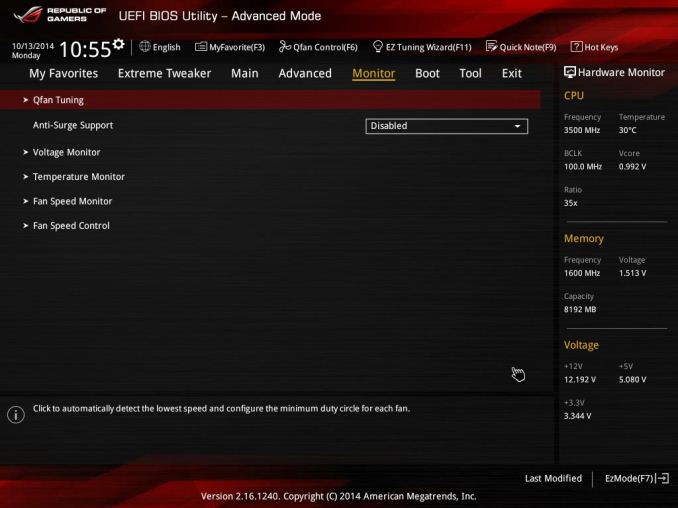
The Monitor tab is split into voltage/temperature monitors followed by fan monitoring and control. This is historically in separate menus on the channel motherboard line, but for ROG it gets split accordingly.
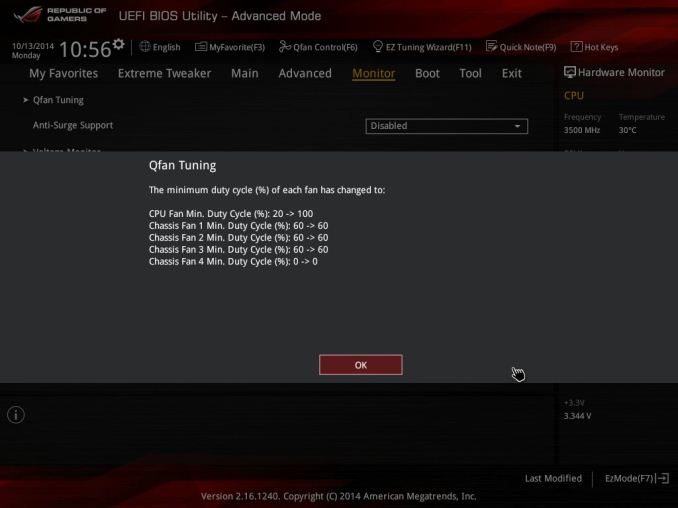
Users with fans attached to the motherboard can implement Q-Fan Tuning which will detect the dead point of each fan and adjust the fan profiles to match the lowest RPM up until the CPU hits a certain temperature.
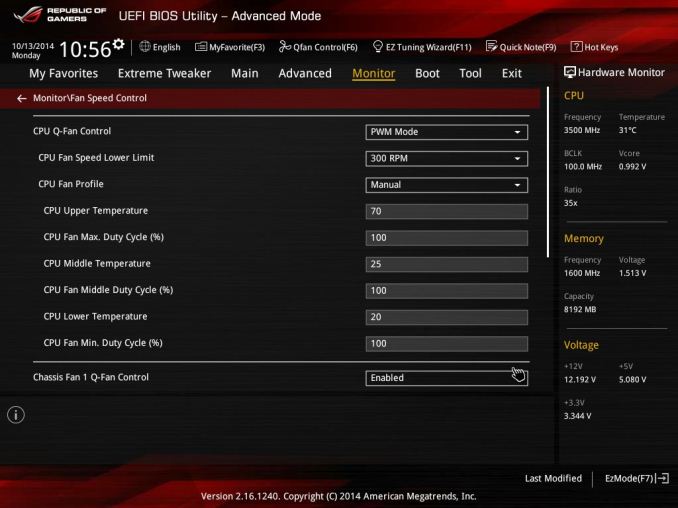
Users can navigate to the Fan Speed Control option to have a textual based fan setting experience. Ideally ASUS would move the graphical fan controls here as well.
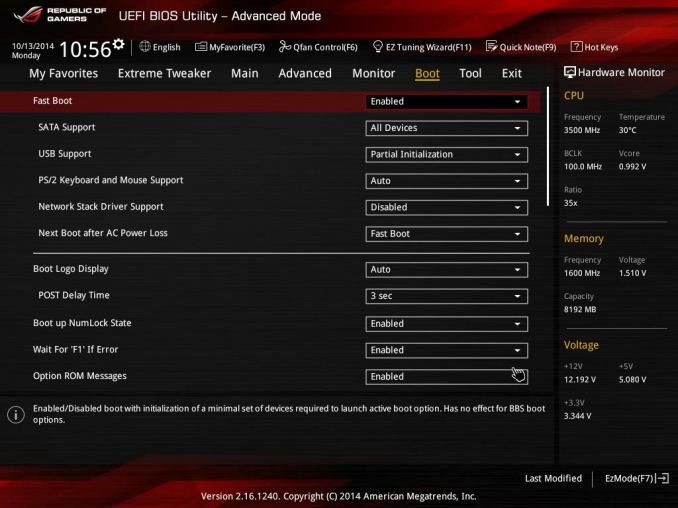
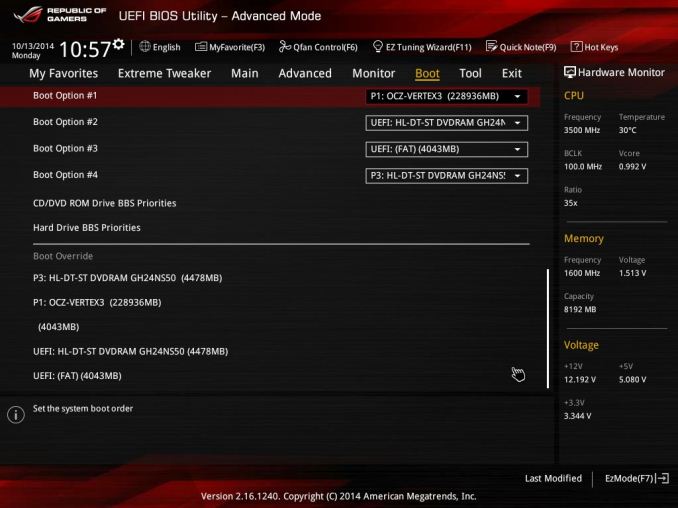
The Boot tab is similar to previous Z97 ASUS BIOSes, giving options for Fast Boot followed by Boot Order and Boot Override.
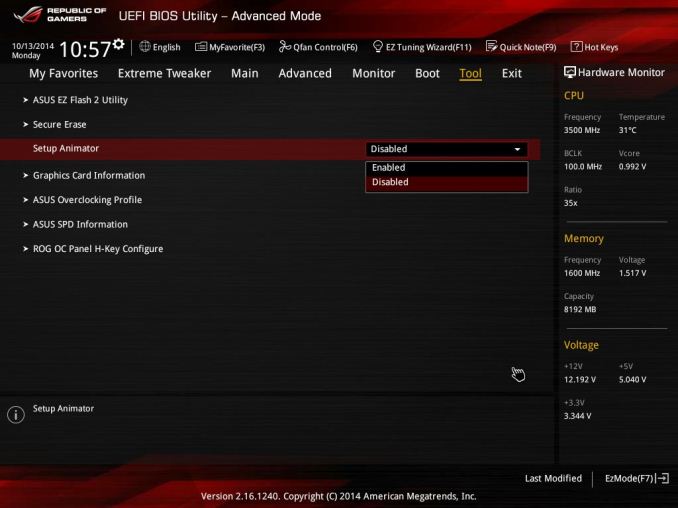
The Tools tab is where more of the fun options exist, and users can disable the screen swipe animations here as well:
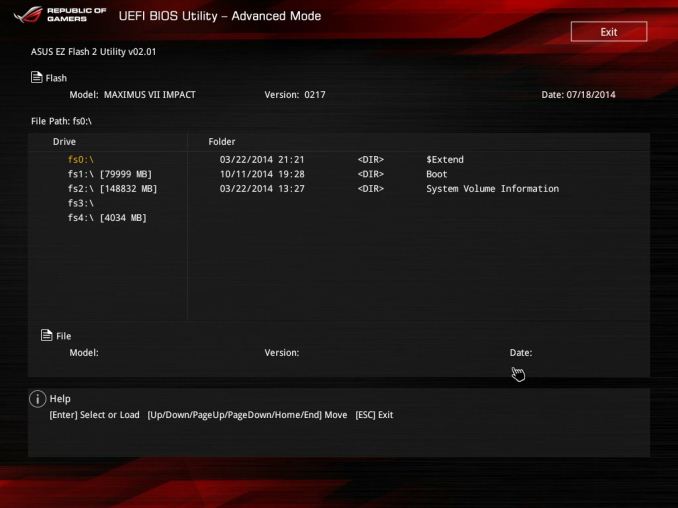
In the tool kit from ASUS is the BIOS flashing/updating utility, EZ Flash 2:
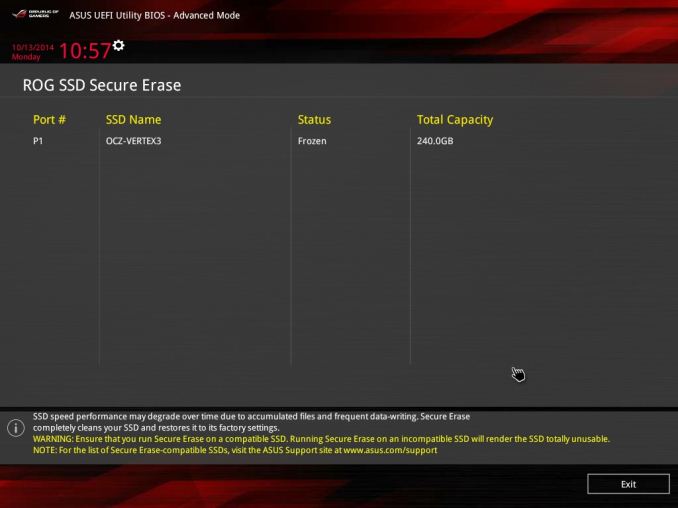
For the Z87 Impact we saw the first iteration of Secure Erase, which is similarly present here on the Z97 model:
This allows users to return their SSD back to its default factory-state (minus some wear) in terms of speed rather than doing hocus-pocus with hdparm and Linux. ASUS has noted that they put this tool in when they were confident it would work with most if not all the drives on the market.
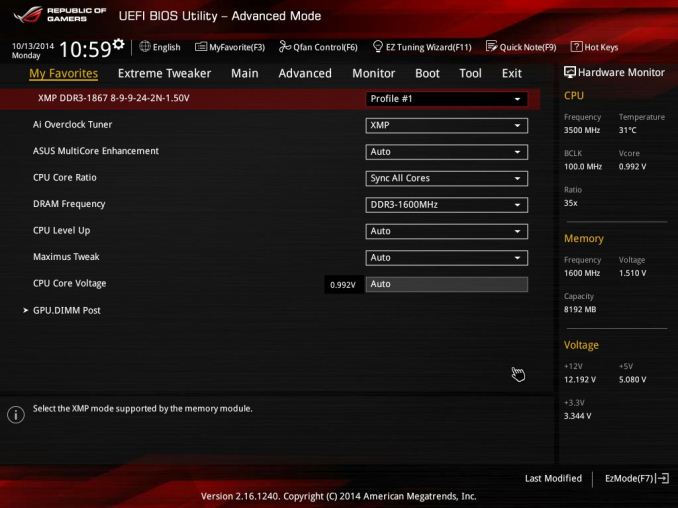
ASUS still has the My Favorites page for easier overclocking or option setting. Here I selected a few of my most commonly used options when I am testing my maximum 24/7 overclock.




41 Comments
View All Comments
leetruski - Thursday, December 11, 2014 - link
Mind telling me where you found a bundle? I'm actually looking for one myself. Thanks.krazy_olie - Friday, December 12, 2014 - link
ah, it was an overclockers.co.uk bundle on Cyber Monday. I'm in UKmapesdhs - Thursday, December 11, 2014 - link
Interesting to compare to the Z97I-Plus, which is also a very good board. I built an HTPCwith this model, just a G3258 to begin with, 750 Ti, works very nicely indeed. It's also almost
$100 cheaper, money that could be spent on a better GPU, CPU, SSD, etc.
Ian.
krazy_olie - Thursday, December 11, 2014 - link
Most people would be better served by the plus but these types of boards are often in bundles so it was at no extra cost to me. The overclocking features are a bit overwhelming. I've just activated the 2133 xmp profile on my memory and left it as it is for now. From what I can tell is that by default if I do this it activates the "free" 4x4400Mhz boost. I may attempt to do some sort of undervolting at some point.Was able to try out the headphone output and was pleasantly surprised. Bizarrely plugging in to the rear it detects something, gives the option of headphones then sets to speakers but on the front panel it works. Not really an issue but weird, it detected my sennheiser hd598 as needing the middle amplification, >64 Ohm, setting but I switched it down to "performance" as it was loud enough for my tastes.
Subjectively it sounds better than my late fiio e17, excellent soundstage and separation. I can certainly hold off buying a replacement headphone amp for quite some time so I've made my money back there already.
Had a play with the sound add ons and they are potentially useful, but for general use best to turn it all off. The audio visualiser is a curious thing... arguably it's a form a cheating if you can see where the sounds are coming from! I suspect I will have fun trying to get it to play nice with games. 3d sounds is so awkward since direct 3d sound was deprecated
Just hoping that I will have more luck controlling the 3 pin fan with cha_fan1 vs the coolhub, otherwise I will need to resort to resistor cables or a new fan. Will report later on...
krazy_olie - Friday, December 12, 2014 - link
Chassis fan header 1 (CHA_FAN1) can control SC fans, seems like either an undocumented restriction on the coolhub or possibly a bug of sorts.Ronald Hummelink - Sunday, December 14, 2014 - link
I bought the same bundle from OCUK, and seems I can control both CHA1 and CHA2(Coolhub) fans fine. I just use custom fan profiles in BIOS, and both fans (and the cpu fan) follow CPU temperature fine.rakesh_hocrox - Friday, December 12, 2014 - link
Check out the latest tech news about Google here: http://bit.ly/1yGNZCWSuperVeloce - Friday, December 12, 2014 - link
Why are usb3 copy times that much slower on newer z97 chipsets?MajorDizaster - Saturday, March 14, 2015 - link
So, are you supposed to replace the screws on the CPU Power Daughter card heat sinks with longer screws to mount it to a case? Or do you only need to use the two free mounting holes?iLloydski - Monday, June 22, 2015 - link
i find it odd that nobody has talked about the fact that M.2 shares bandwidth with PCIe 3.0/2.0 X16 slot. Bandwidth on the PCIe 3.0/2.0 x16 slot becomes x8 when M.2 device is inserted.i'd like to know the impact of this with the graphics card if decide to use M.2 SSD. Thanks, appreciate the feedback.