The MSI X299 Tomahawk Arctic Motherboard Review: White as Snow
by Joe Shields on November 20, 2017 8:00 AM EST- Posted in
- Motherboards
- MSI
- M.2
- USB 3.1
- X299
- Skylake-X
- Tomahawk
- Tomahawk Arctic
BIOS
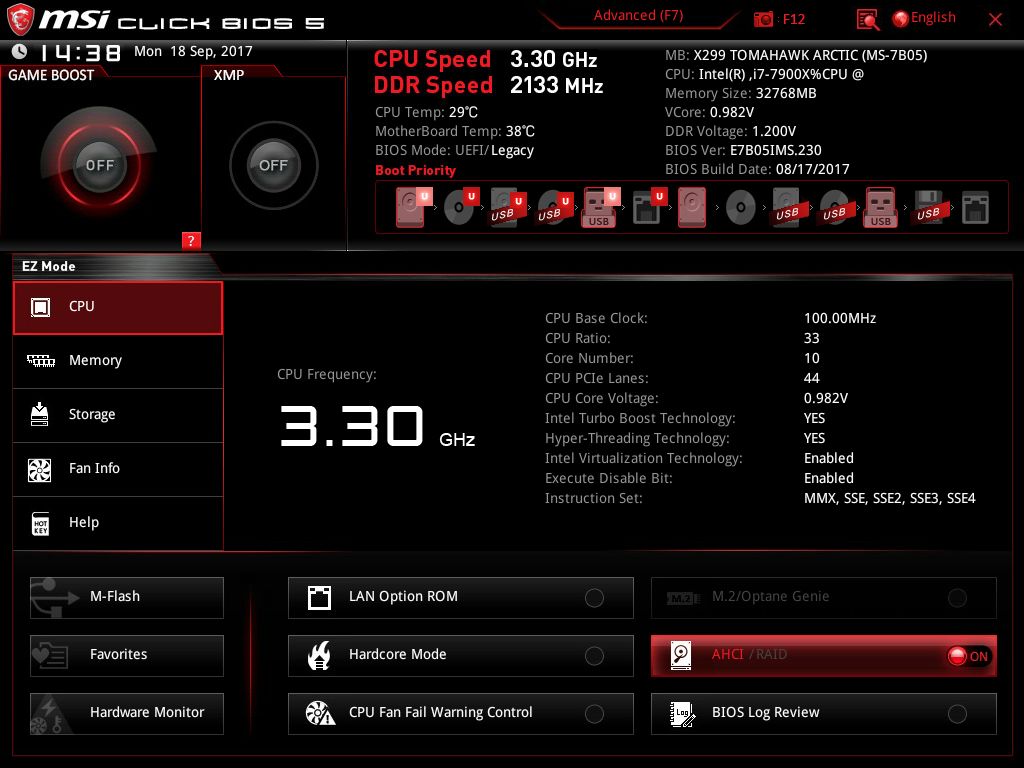
MSI's Click BIOS 5 is the latest version of their UEFI and what is used on their X299 based motherboards. The version for the Tomahawk is black and red, while others will change the color/theme depending on the motherboard. When booting to the BIOS users are greeted by the EZ-Mode version which displays high-level system information such as CPU and memory speed, motherboard and CPU temps, installed memory amount and speed, enough to have a complete 'state of the union' view of the system.
Users are able to change a few pertinent options from the EZ Mode. XMP profiles on RAM can be enabled, as well as the Game Boost function for one-touch overclocking. Boot order is also able to be changed by dragging the icons around in the boot priority list. Access to M-Flash for flashing the BIOS, access to Favorites, and access to the Hardware Monitor is found on buttons in the bottom left-hand corner.
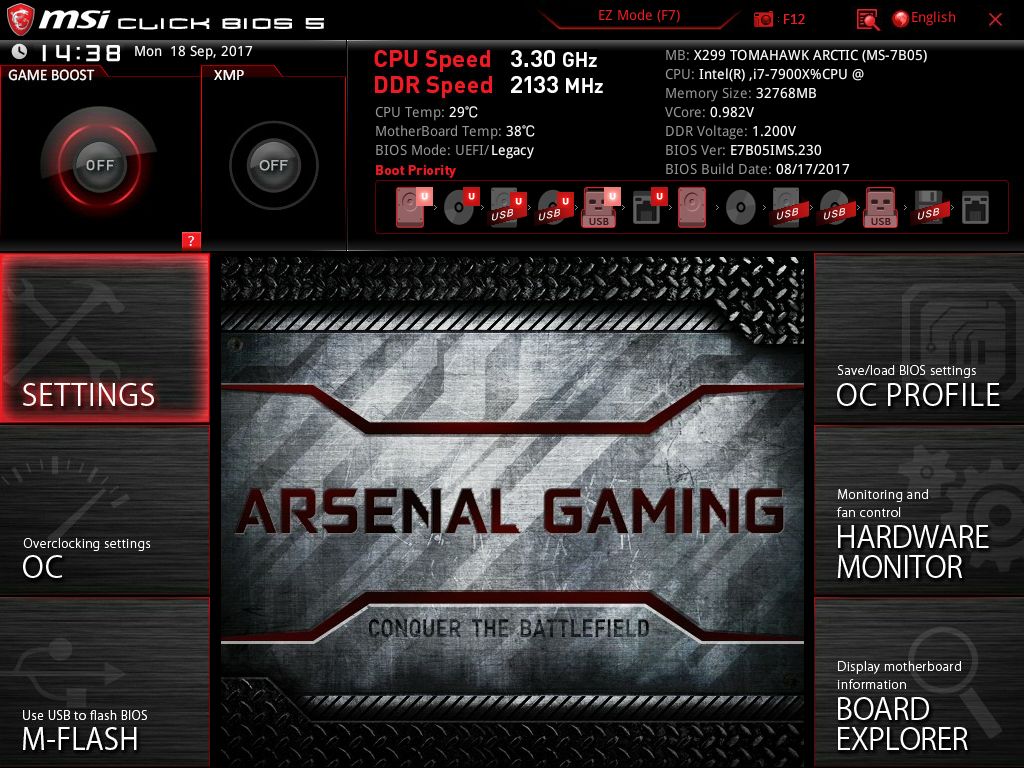
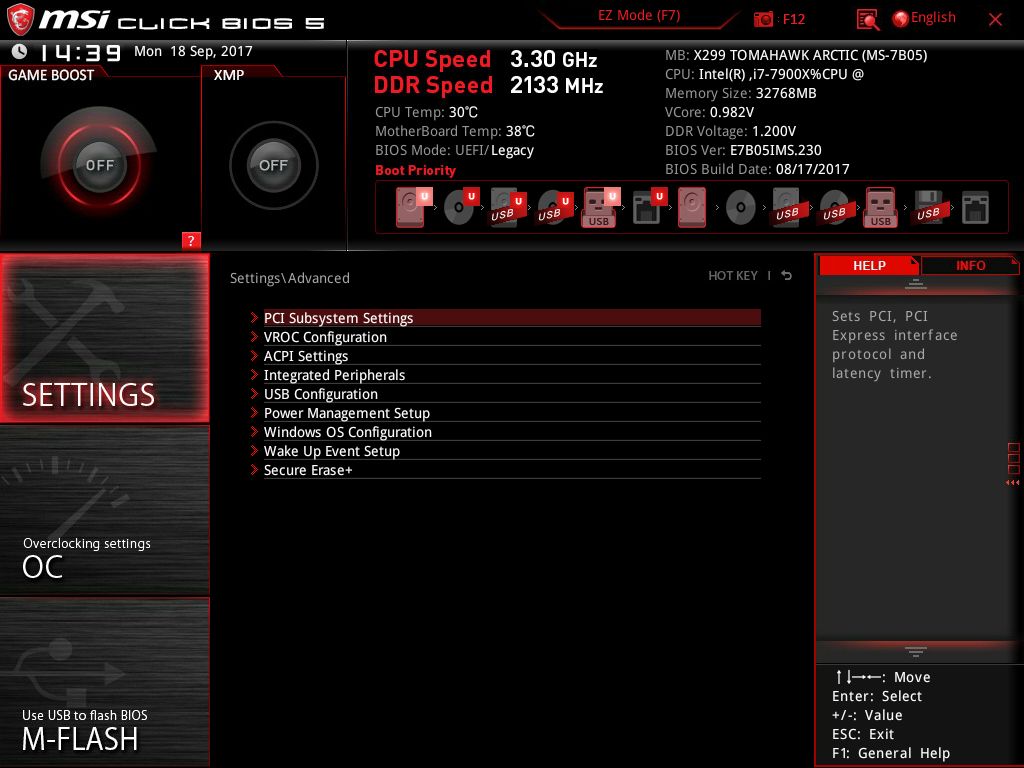
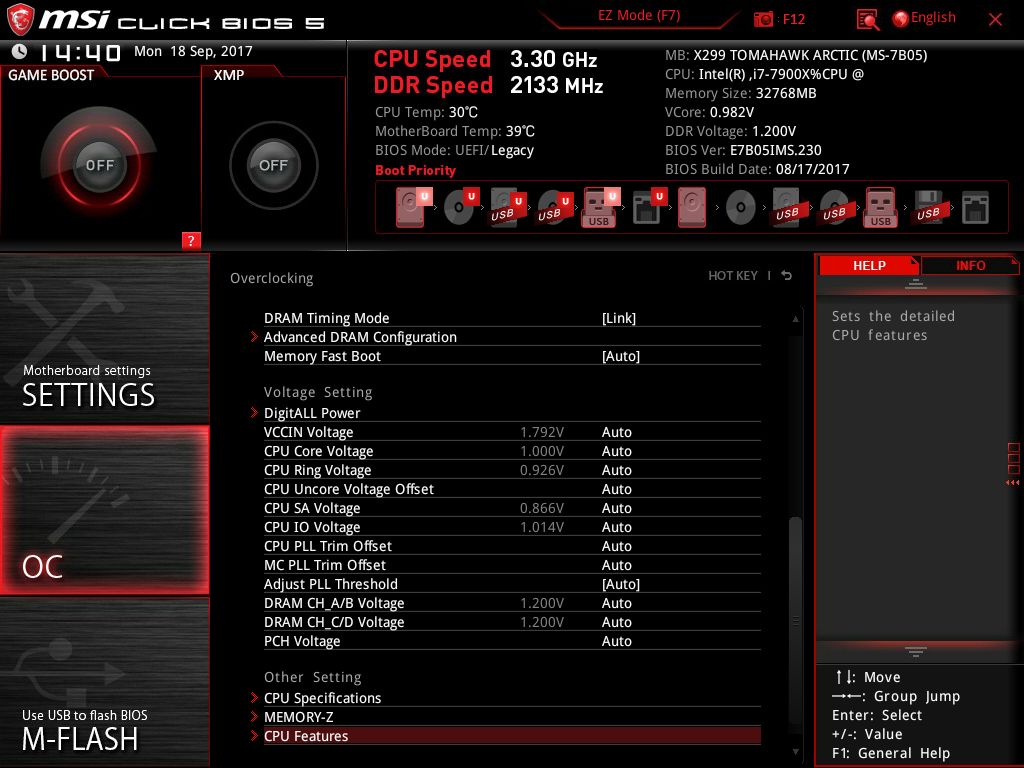
After pressing F7 to get into Advanced mode, we are greeted by an identical top 1/3 of the screen with the Game Boost and XMP buttons, high-level system information, and boot order. The bottom now gives users options to different sections of the BIOS. The Settings section gives access to view and change subsystem settings (PCIe modes), VROC Configuration (Intel NVMe RAID), Integrated Peripherals, USB Configuration, Power Mangement, Windows OS Configuration, and more. Settings like changing SATA modes, or enabling/disabling USB ports, will be found here.
The OC section is where all the overclocking magic happens. Access to all the tools needed for ambient overclocking like CPU multiplier, Vcore, DRAM Voltage, DRAM Timing settings, and FIVR voltage control will all be found somewhere in this very deep section. By default, it starts off in Normal mode which hides more advanced overclocking options, but there is still plenty of tools available without the need to expand on options. Voltage control for all the relevant sub-systems is all found on the first page. In fact, all manual overclocking was done in normal mode since we do not use per core adjustments or need to adjust memory timings (can enable XMP with a button or drop down).
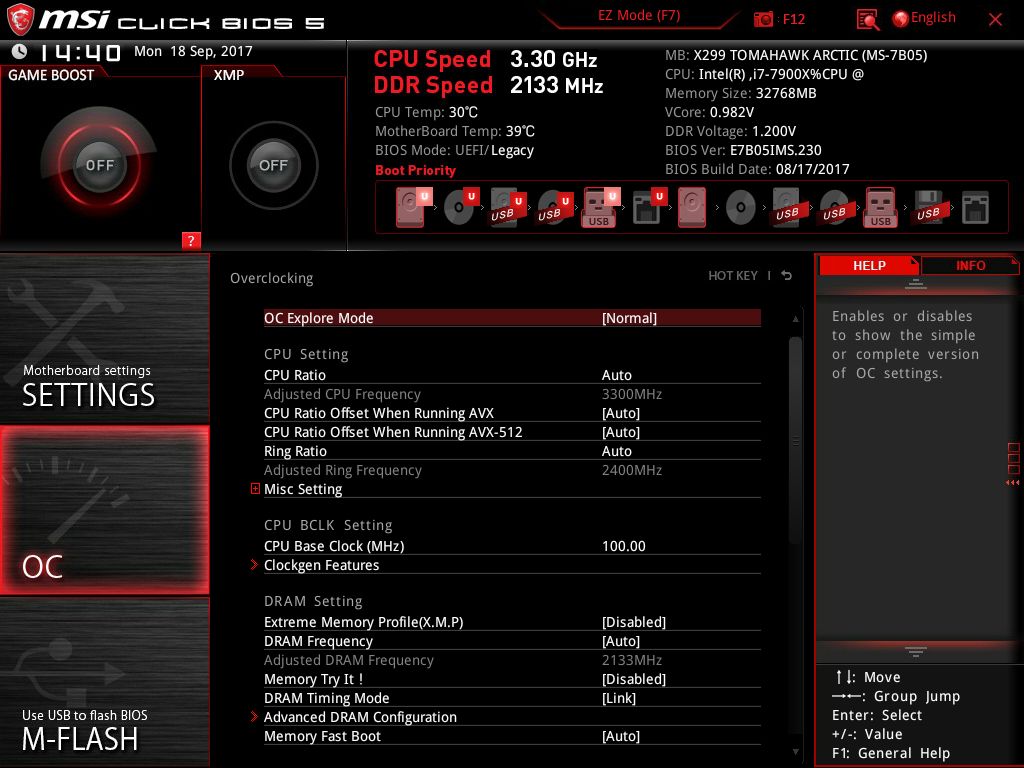
Within the OC section is the Advanced DRAM Configuration, where users can enable XMP, adjust memory speeds, and adjust a slew of primary/secondary/tertiary memory timings. The next major sub-section is the DigitALL Power where voltage options like Loadline Calibratio, Over/Undervoltage protection, VRM Switching frequencies, and more are found. Any CPU feature changes (HT enable/disable, number of active cores, C-States, and Power limits) are edited through the CPU Features section at the bottom.
The M-Flash section is the place users go in order to update the system BIOS. After entering the M-Flash section, a dialog box pops up letting the user know they are going into BIOS flashing mode and reboots to an 'explorer' of sorts pointing to a USB drive where the BIOS (should be) is located.
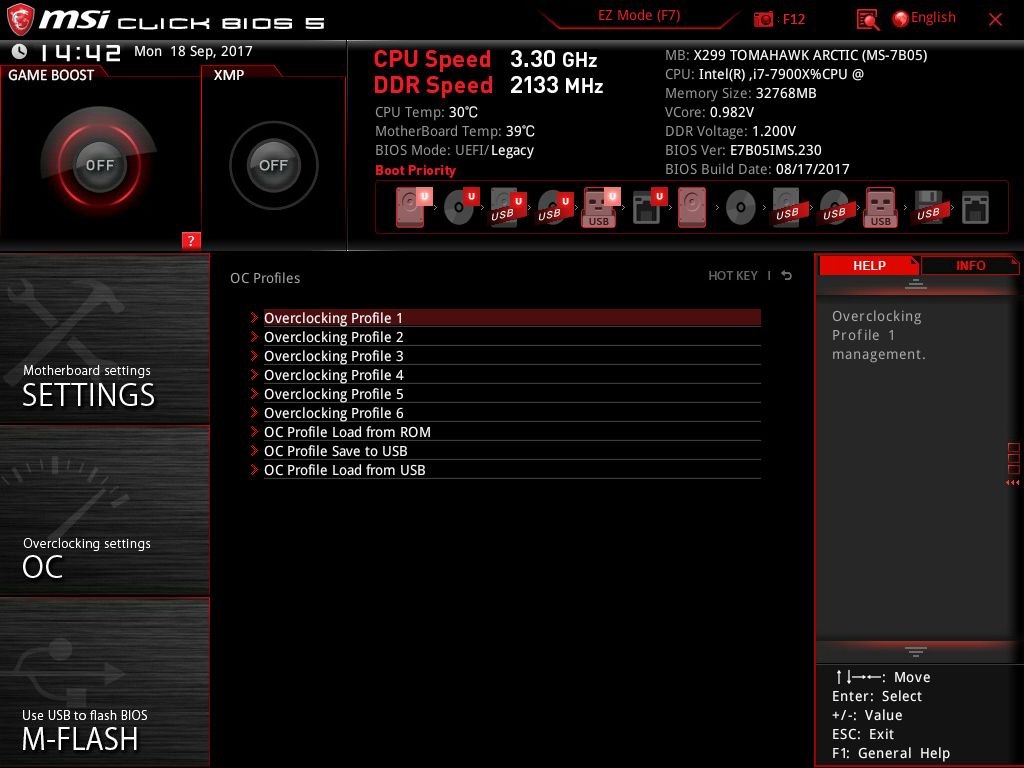
Once a stable overclock is found, users are able to save the settings in the OC Profile heading. Up to six profiles can be saved to the BIOS or externally to a USB device. I saved my manual overclocking results to a profile and was able to reset the CMOS, load the profile, and jump right back to it without issue. When flashing the BIOS, it will not keep the profile.
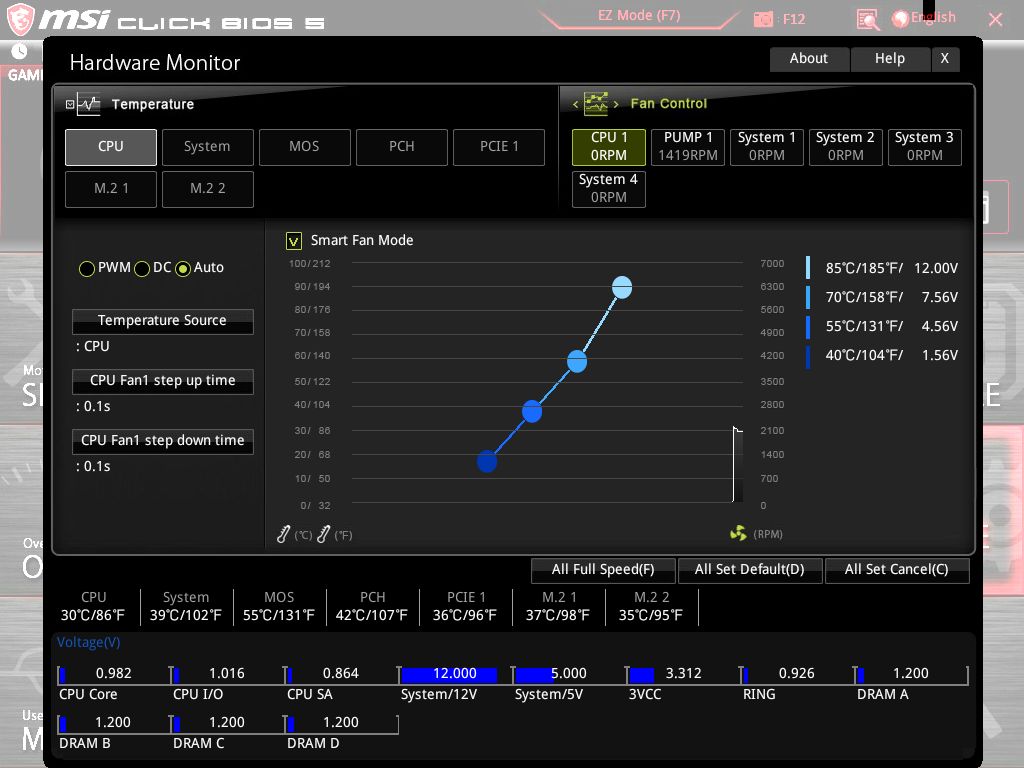
The Hardware Monitor section shows system temperature and fan speed information. Each fan header has its own profile that users can select and edit for their particular environment and preferences. All headers are able to be PWM or DC(Voltage) controlled; default is for auto-sensing.
In the time I had with the BIOS, I did not have any issues. Mouse movements were smooth and I had no issues maneuvering around with the keyboard. Though the layout isn't one of my favorites, the EZ Mode is good for high-level changes, and the advanced mode has a sufficient number of options.


Software
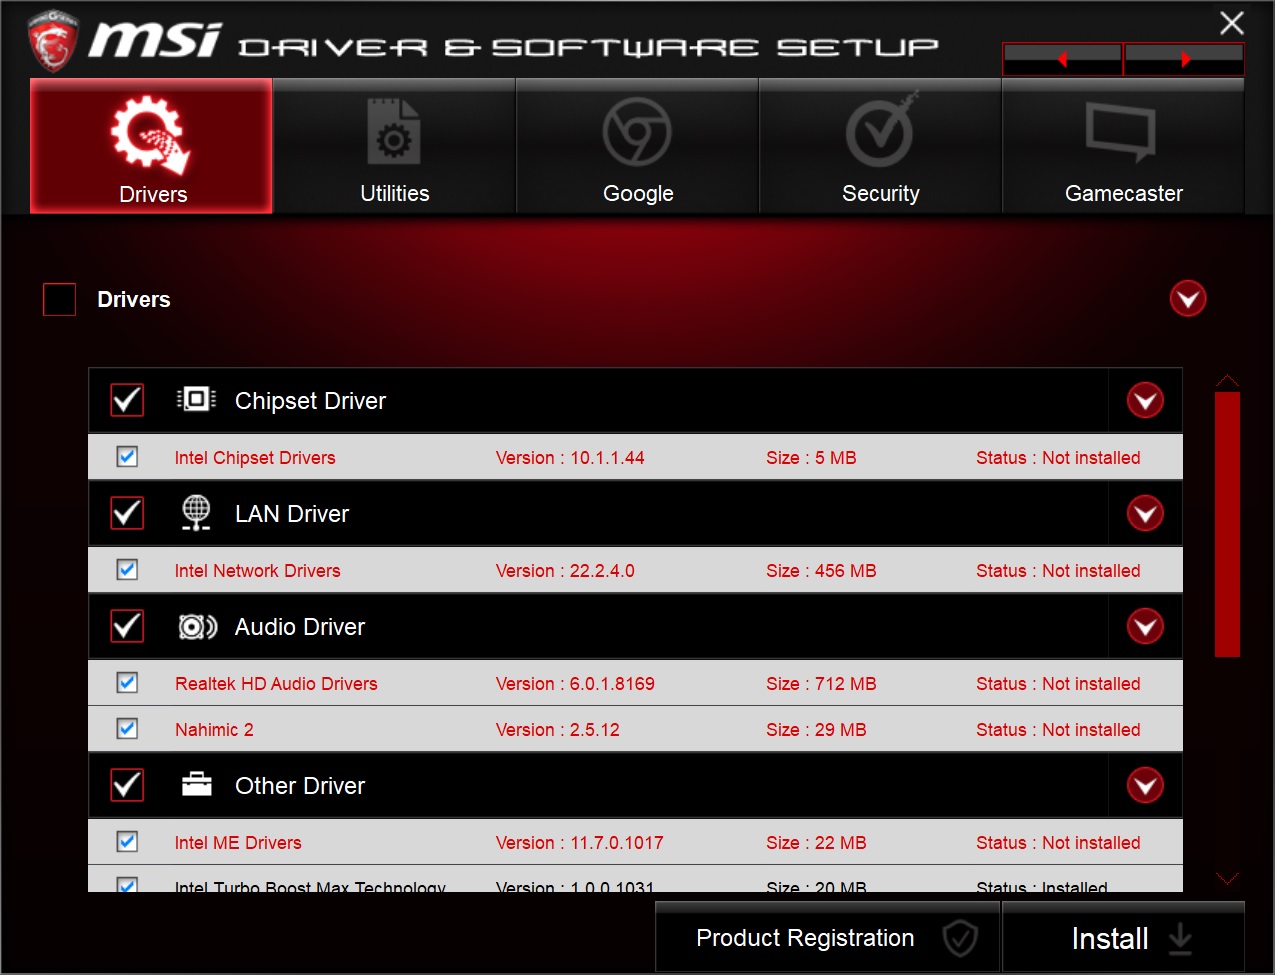
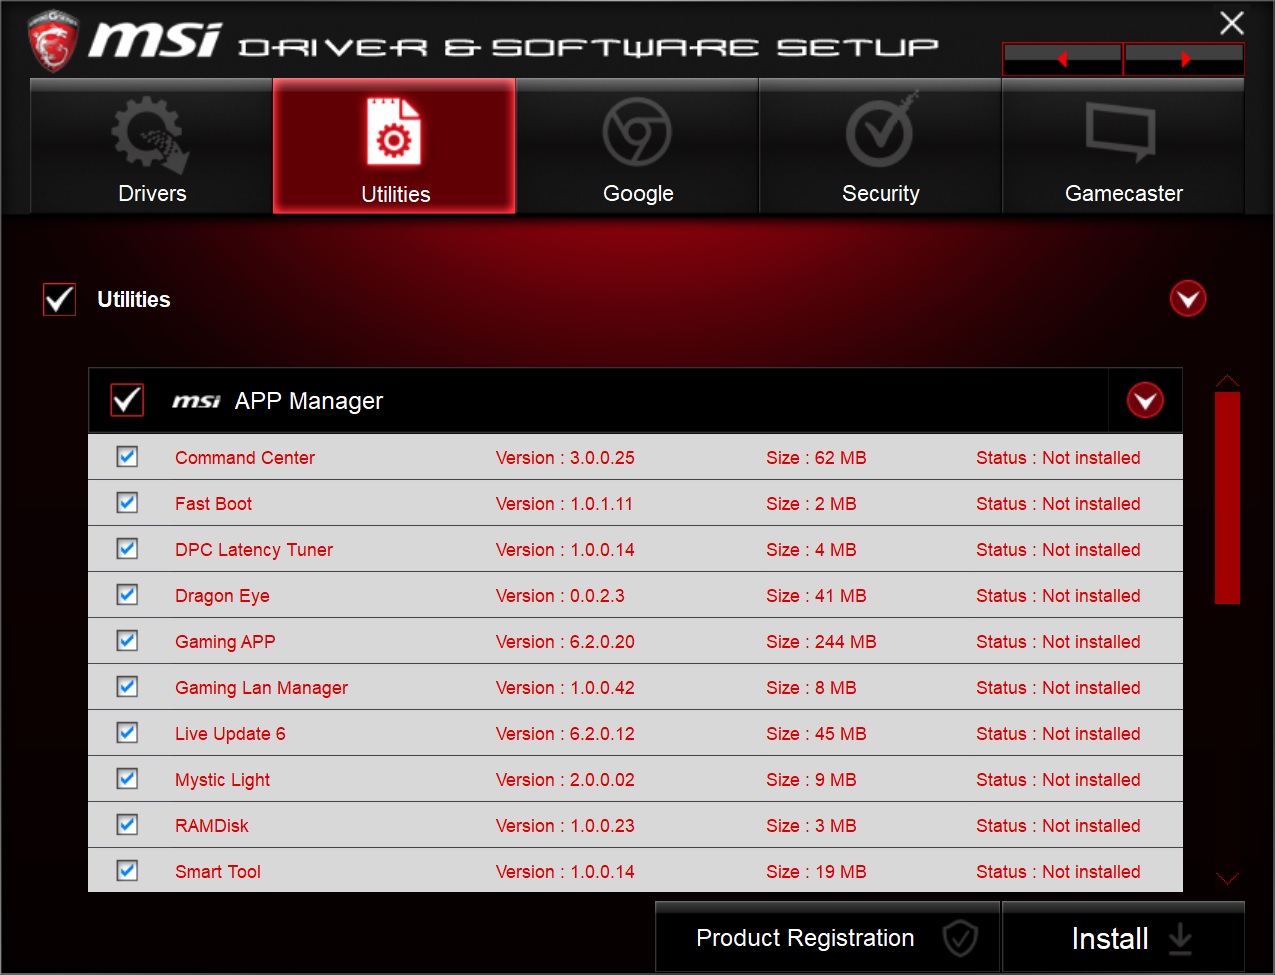
The first piece of software pictured is the included driver disk. Here, users are able to install all drivers needed. Simply check it off, press install and it should do its thing. I used this functionality on first boot and did not have any issues. It also includes a utility section where all MSI utilities can be found: Command Center, Live Update 6, Mystic Light, the Gaming APP and others are found on the disk.
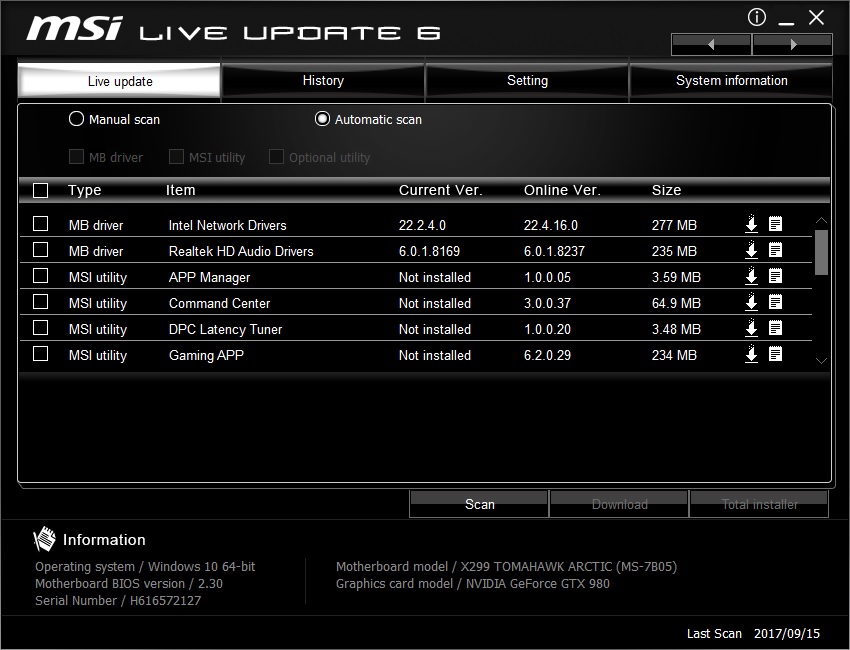
MSI's Live Update 6 software runs in the background and periodically checks the MSI website for driver and utility updates. Post installation, it picked up what drivers needed to be updated or utilities that were not installed. I was able to update the drivers listed as well as install Command Center without a problem.
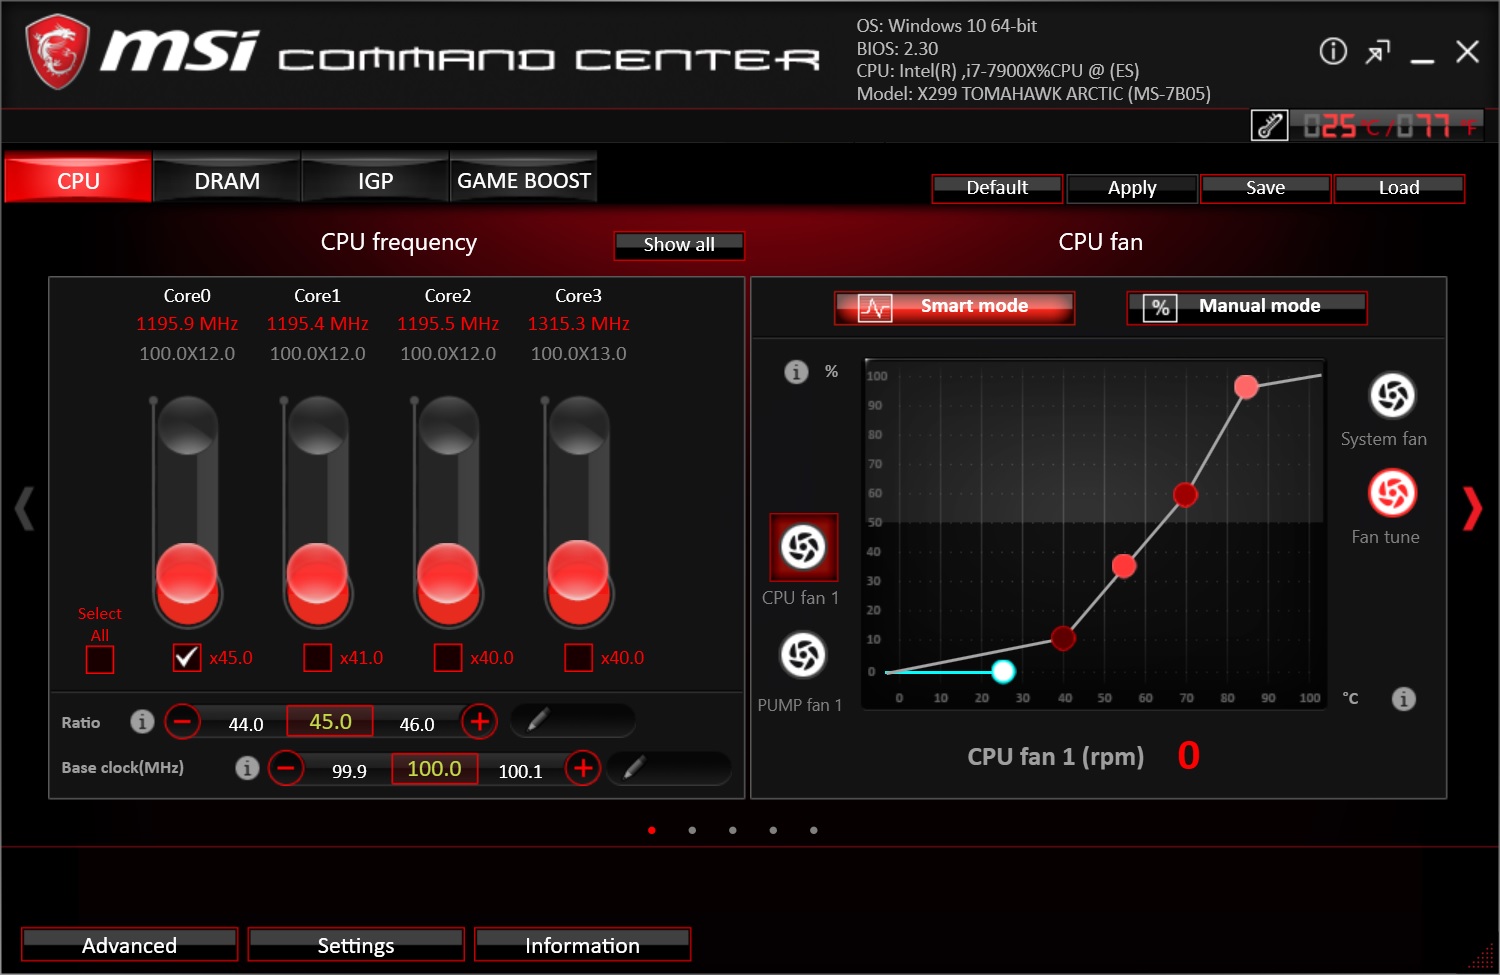
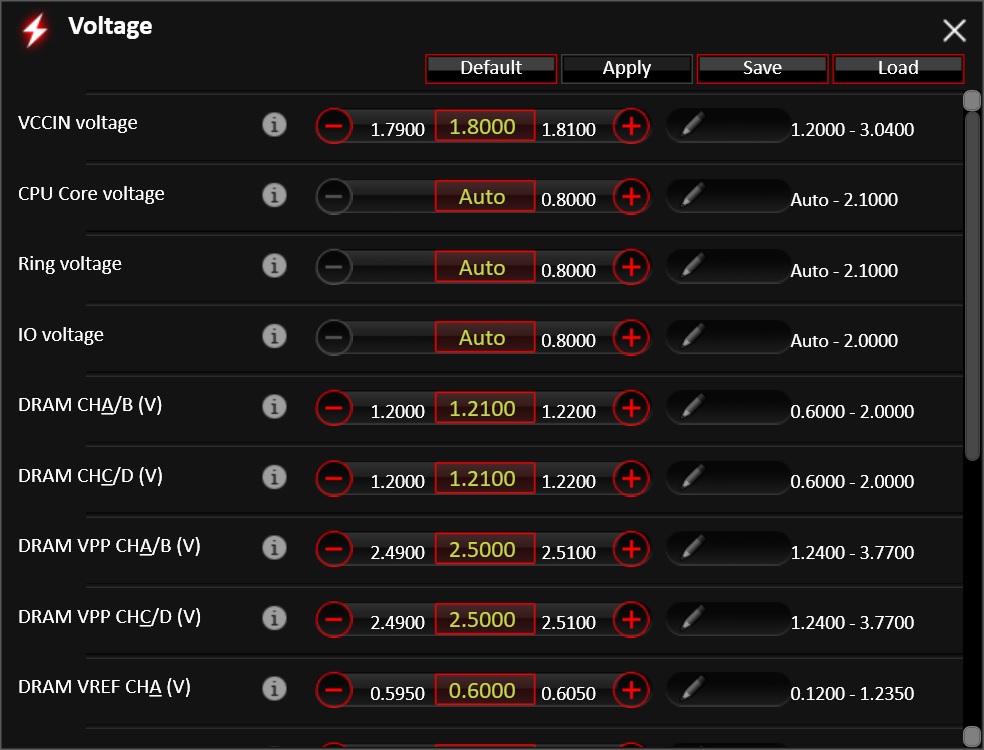
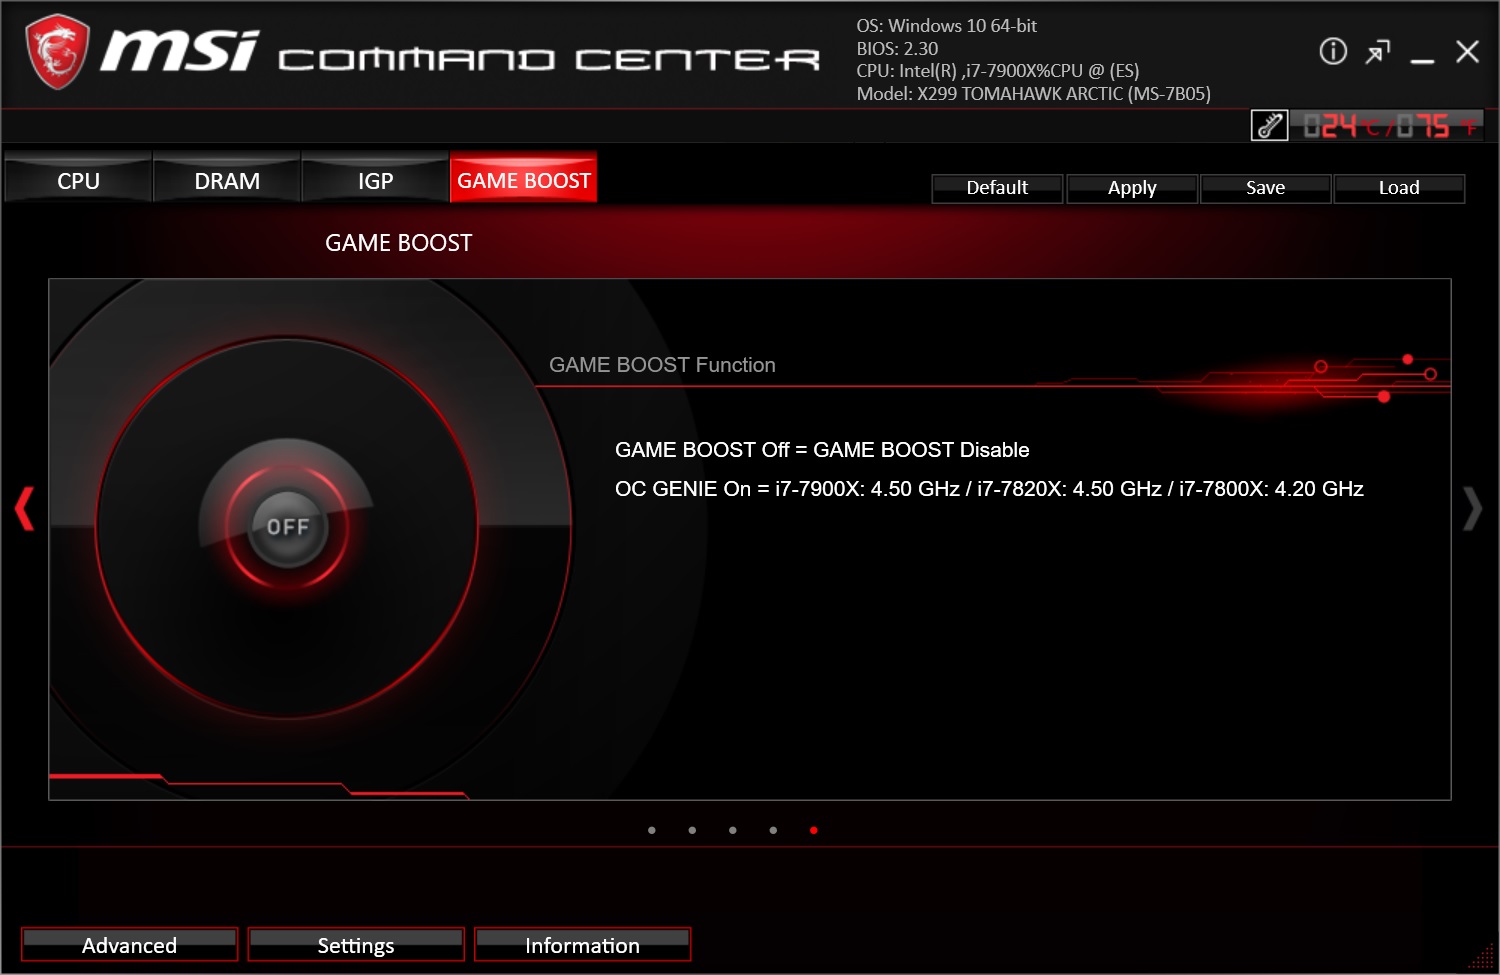
Command Center is MSI's Windows-based application allows users control over their CPU speed, CPU voltage, DRAM voltage, DRAM timings, fan speed control, integrated graphics clocks, and gives access to Game Boost for one-touch overclocking. I used the application for the manual overclocking portion of the review without issue. I was able to change voltages, and adjust the CPU multiplier and base clock from the application. When using Game Boost, it set the 7900X to 4.5 GHz and 1.26V on all cores and threads. This was closer to what I achieved manually (1.25V) at the same clock speed than the using the BIOS auto overclocking which set it at 4.4 GHz and 1.26V.
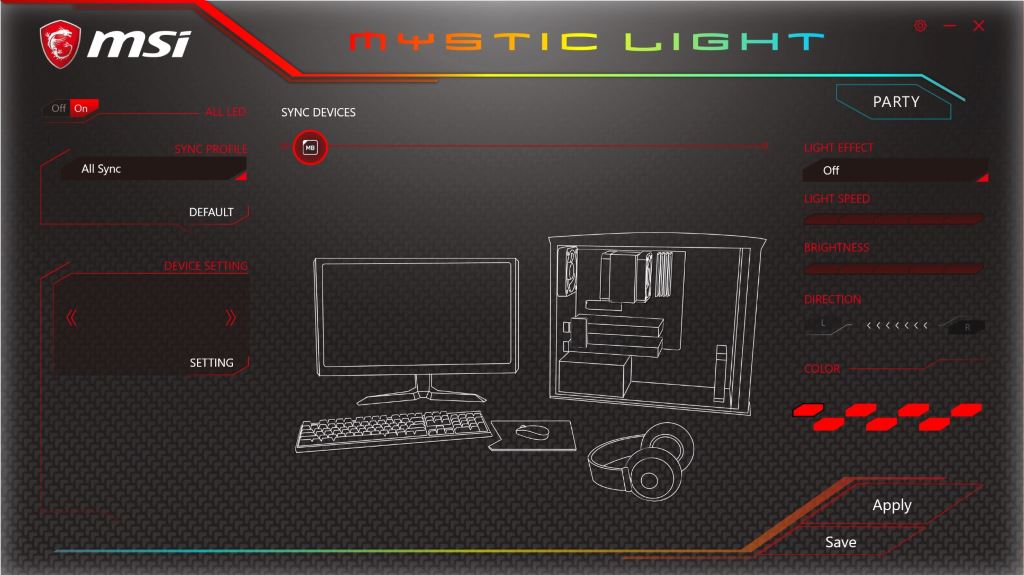
RGB control for MSI is handled under the Mystic Light application. It controls all integrated RGB LEDs as well as any attached to its internal headers. These can be synced together or controlled independently using a variety of different effects, as well as different speeds, allowing the user to control how bright they are and the direction of the effect.
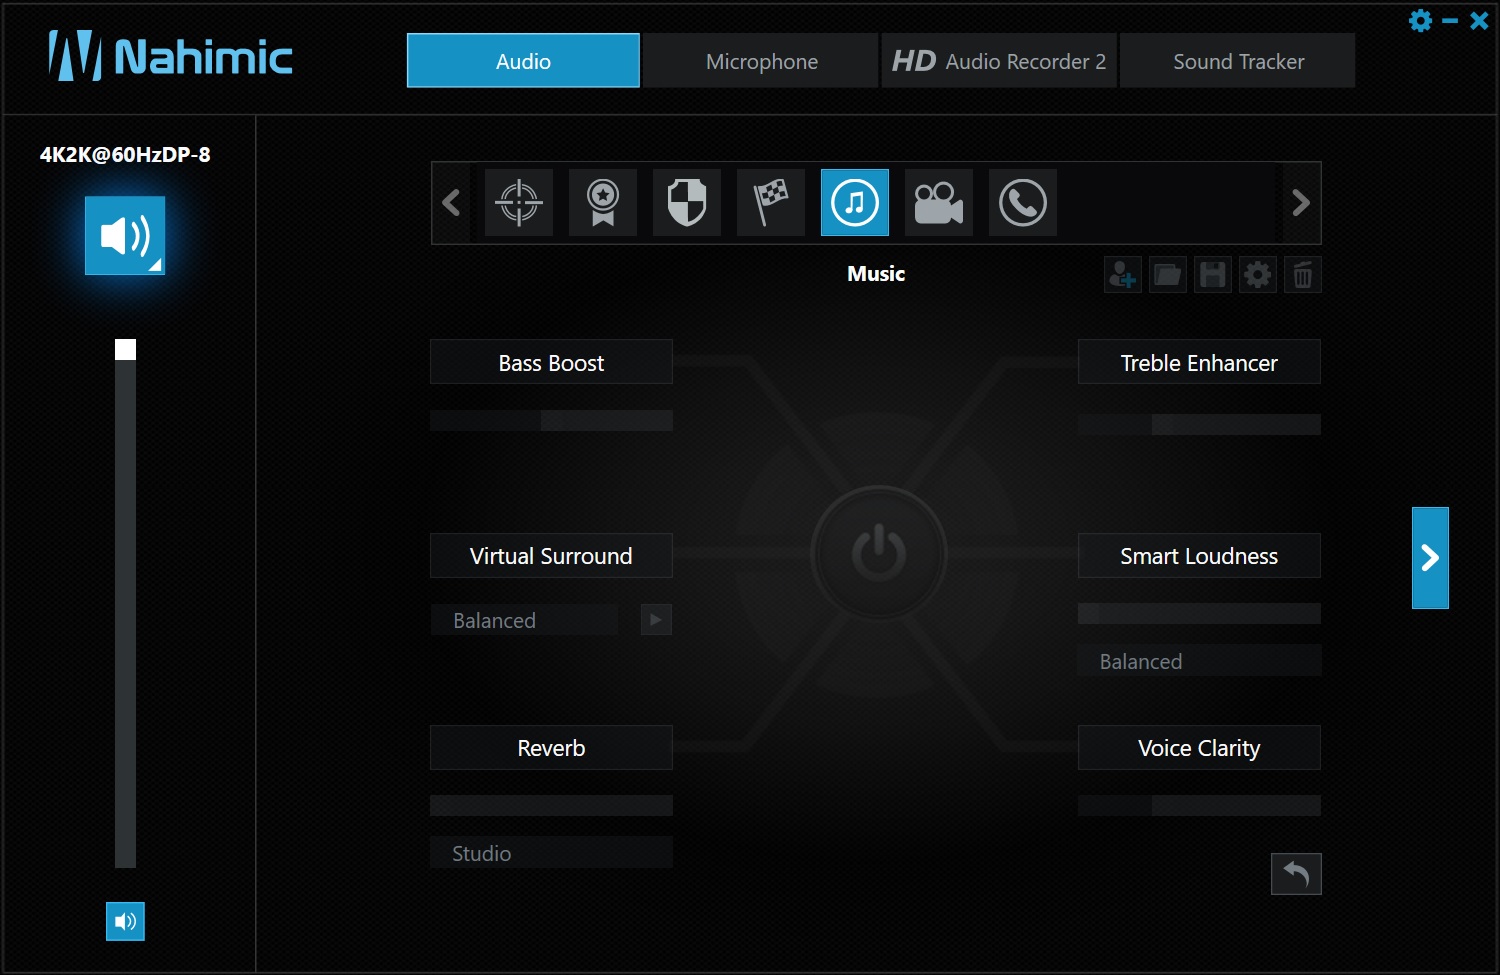
MSI's Nahimic Software aims to give the user more control over the onboard audio. There are generic EQ functions for bass and treble, functions for virtual surround and functions for 'smart loudness' for each type of setting. It also allows users to adjust the sound of their voice in the microphone section. Gamers can also enable Sound Tracker for compatible games which tells the user where sounds are coming from through on OSD. The aim of this software is to help users trying to hear where those gunshots are coming from, similar to software found on ASUS gaming boards.


21 Comments
View All Comments
Lolimaster - Monday, November 20, 2017 - link
Why buy this when Threaripper X399 is better in every possible way, like more pci-e lane, upgrades for the next 3 years. Modular arch.Lolimaster - Monday, November 20, 2017 - link
You can use ECC out of the box, nvme bootable raid, etc.mkaibear - Monday, November 20, 2017 - link
https://www.anandtech.com/bench/product/1904?vs=19...That's why (note not identical parts because it's a 12 core TR vs an 8 core i7 - but they are as close as I can get in terms of costs). If I went the other way and went with a 10 core i9 vs the 16 core TR then we see roughly the same pattern of behaviour.
Threadripper wins in the multithreaded tests so long as the workload suits it but for the many benchmarks it's per-core speed which is more important than number of cores.
In essence, if your work requires fast cores and quite a few threads then you're better off with the i7 or i9, if it utilizes loads of threads but speed is less important then you're better off with the TR.
So; given that there are obvious use cases for both processors I'm afraid I can't agree that "Threadripper X399 is better in every possible way".
BroderLund - Monday, November 20, 2017 - link
For instance if you look at video encoding. Puget Systems are incredible detailed in their testing. Check out their Skylake-X vs Threadripper articles for both Premiere Pro CC and Davinci Resolve here:https://www.pugetsystems.com/labs/articles/DaVinci...
https://www.pugetsystems.com/labs/articles/Premier...
You can see that thredripper is not "better in every possible way". It really depends what is the most important in the system. RAW cpu power, expandability, multi gpu, multi nvme including multi gpu, raid cards, network cards and so on.
DanNeely - Monday, November 20, 2017 - link
TR can also win if you need the extra PCIe lanes; but with SLI/xFire both slowly dying in the 2 card version and more rapidly in the 3/4 card formats the need for a huge number of lanes is going away for gaming.rsandru - Monday, November 20, 2017 - link
My two 1080Tis are doing just fine, no need to worry :-)eek2121 - Monday, November 20, 2017 - link
Hopefully the BIOS/UEFI on this board isn't as buggy as the X399 board I have. Broken fan profiles, settings corruption over time, etc. all plague my X399 board. This was my first MSI board and it's going to be my last!Joe Shields - Monday, November 20, 2017 - link
The fan I had attached during testing (a DC fan) worked fine throughout the testing period. No settings corrupted over time but, it was only a week or so it was on the test bench.eek2121 - Monday, November 20, 2017 - link
Did you try setting a custom profile in the bios? For my X399 I tried changing the fans to go from 0% to 100% in a range from 40C-66C, the end result is that the fans don't end up turning on at all.Joe Shields - Monday, November 20, 2017 - link
No custom profiles, no. The default set worked.