Corsair Graphite 760T Case Review
by E. Fylladitakis on March 27, 2014 1:10 PM ESTCorsair Graphite 760T Interior
Most of the interior of the Graphite 760T is black, with the exception of the top and bottom panels, which are white on our sample (with black as an alternative). The mechanical strength of the case is well above average; Corsair could not cut corners with a design that receives no mechanical support whatsoever from its side panels. The thickness of the metallic chassis is sufficient and extra supports have been installed to reduce flex at nearly all the panel junction points. There could have been some extra support between the motherboard tray and the front panel, as they are essentially connected only with the 5.25" drives cage, but we cannot really complain about it since there is no apparent structural weakness to be found on the chassis.
The Graphite 760T has a large, all-black motherboard tray permanently attached to the chassis. It can hold up to Extended ATX and XL-ATX motherboards, as well as all the smaller compatible versions, down to Mini-ITX; however, even a full ATX motherboard looks small inside the Graphite 760T, so smaller motherboards will look very out of place. There are openings on the side and top of the motherboard tray for the routing of cables, with the former featuring rubber grommets. There is ample clearance between the motherboard tray and the top panel, ensuring that liquid cooling radiators will fit without issues.
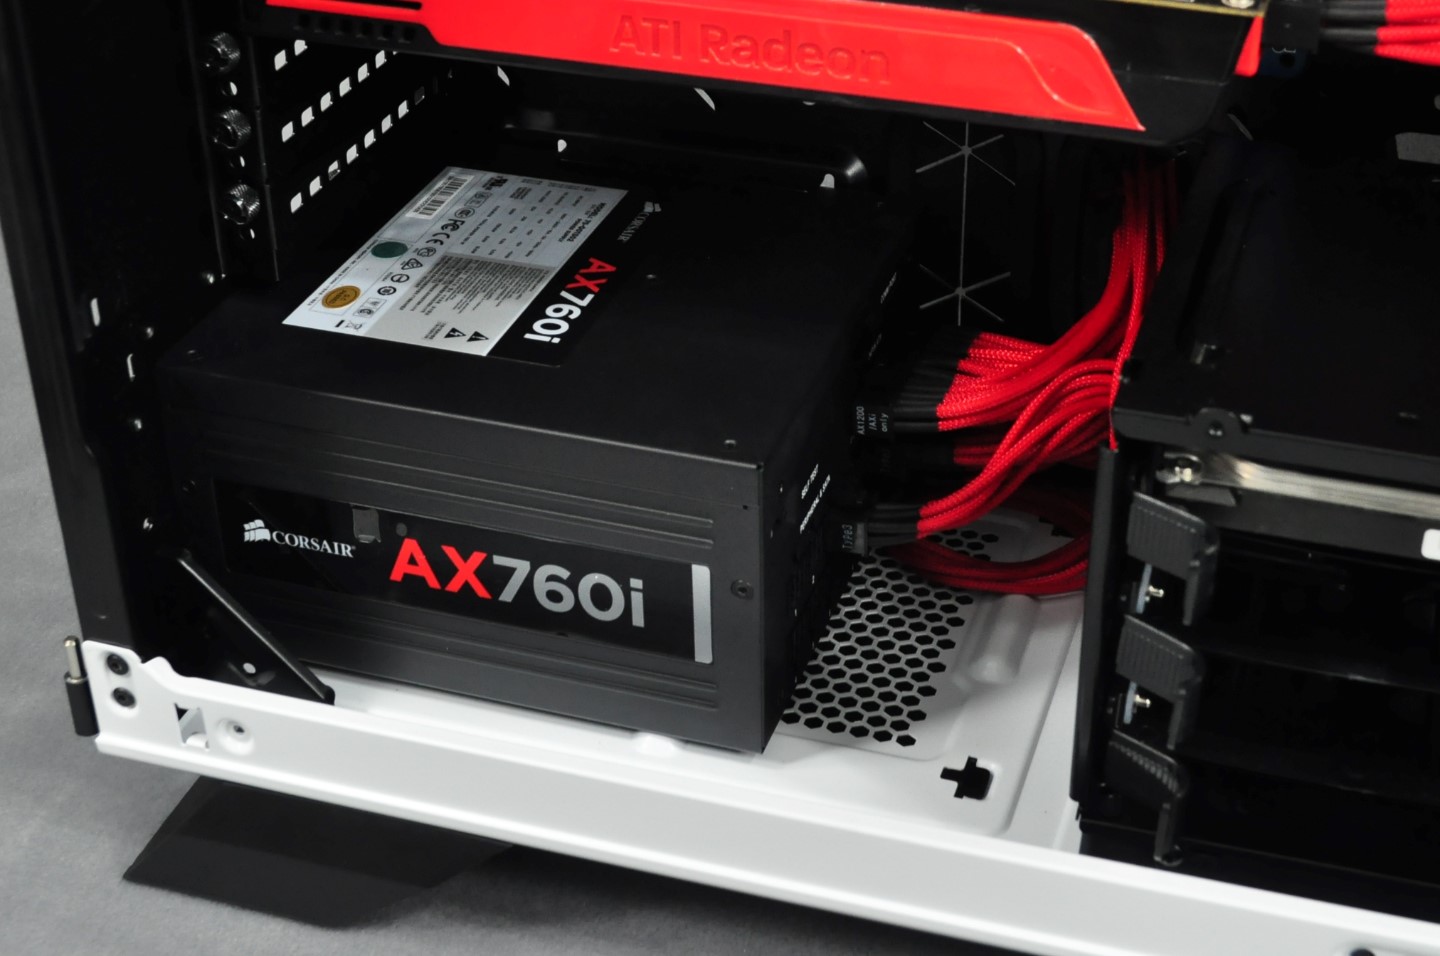
Although it is possible to use a PSU of virtually any length with the Graphite 760T, we strongly recommend to not select a unit with a chassis longer than 175mm if you do not plan on removing the first HDD cage. The PSU sits directly on the metallic panel itself, which has been embossed to raise the unit slightly.


There are two HDD drive cages installed in the Graphite 760T, out of the four possible total (sold separately). Each cage has three trays and thus can hold up to three 2.5" or 3.5" drives. 3.5" drives are secured by simply flexing the tray to make the metallic studs go into the screw holes of the drive, but screws are necessary for the installation of 2.5" drives. The cages are removable and stackable; they can be installed in any combination, some of which are depicted in the above gallery.
By removing the rear drive cage, an additional 120mm fan mounting point is revealed. It is also possible to leave only the rear drive cage where it is and remove the front cage, allowing the installation of a large liquid cooling radiator. When installed at the bottom of the case, they are placed on a plastic stand, which can be removed from the bottom of the case. Actually, it will have to be removed alongside the attached cage if you wish to remove it from the case, as the frame of the case blocks access to the front screws required to release the cage from its plastic stand. This is not an ingenious approach if you ask us; at least holes should have been punched on the frame where the screws are located, allowing a screwdriver to fit through. Furthermore, if you decide to connect two of the cages, connecting them will instantly scratch some paint off the sides that are brought together.
Corsair provides ample clearance behind the motherboard tray for the routing of cables. There are many cable tie mounting points and several openings for additional flexibility. The most prominent feature on this side of the case however is the four plastic 2.5" drive slots, which are placed sideways across the edge of the motherboard tray. These mini-trays are removable and very easy to use, as they will simply lock any 2.5" device (presumably SSDs) inserted into them. Screws can be added for extra safety, although it seems extremely unlikely that a drive could come out of the tray if someone does not pull the plastic locking latch intentionally.
The doors can be removed by simply pulling them upwards once they are open. Although that will not be necessary when performing small upgrades, we strongly recommend doing so when you want to build a new system or to perform a major overhaul.
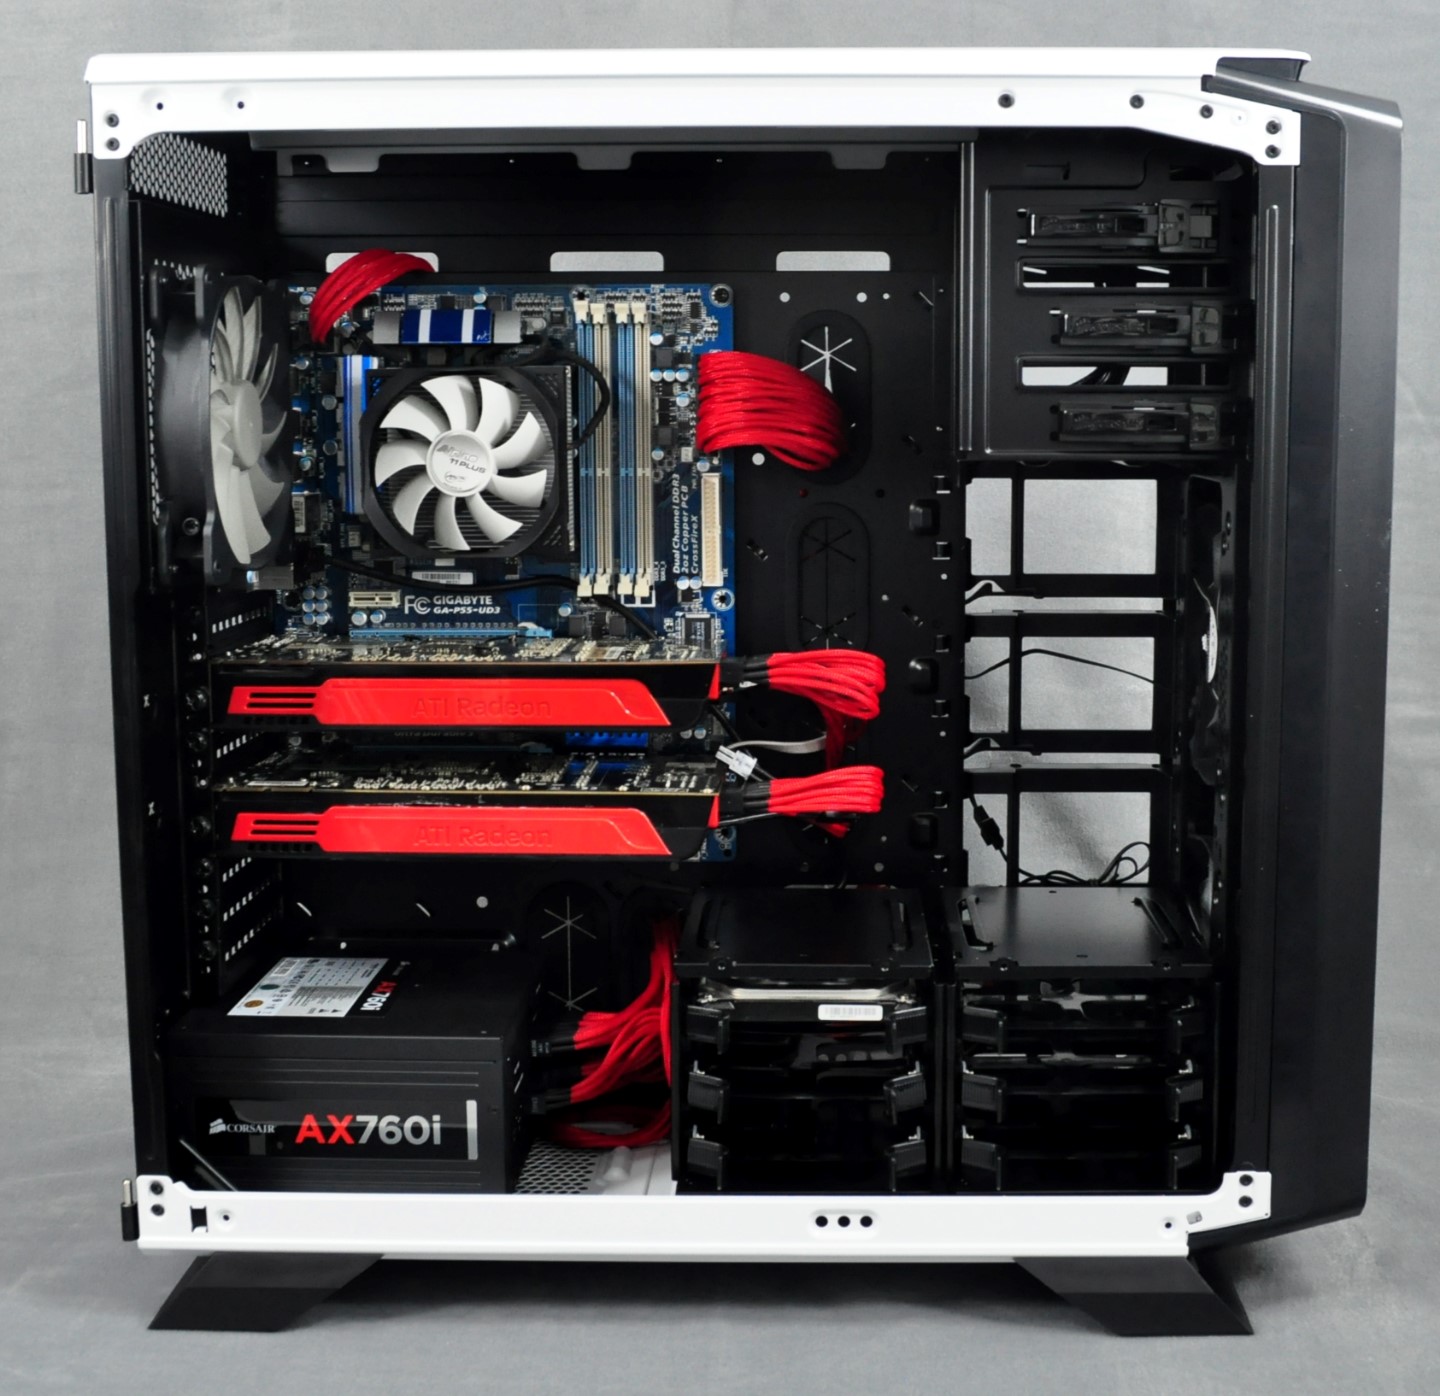
Black cables and parts are easily hidden inside an all-black chassis; therefore, for visual clarity, we are using an AX760i PSU with a red cable pack and white SATA cables for our pictures. Building a system inside the Graphite 760T is a seamless procedure, aided by the large size of the case. Most of the time required to build a system inside this case will most likely be for the routing of the cables. There are no sharp or dangerous points about the Graphite 760T that we could locate during our experience with it.
As exhibited in the pictures of our test build, a full ATX motherboard is a little short for the tray of the Graphite 760T, creating a gap between the cable openings and the board itself. The EPS connector and other cables that may have to reach the top side of the motherboard can be easily routed through the openings at the top of the motherboard tray. Graphics cards of virtually any length can fit as long as there is no HDD cage placed in front of them. The addition of a second cage at the front of the case will limit the length of the graphics cards down to 340mm, which is still adequate for the vast majority of GPUs, but ultra-long performance monsters will not fit. Also note that the plastic 2.5" trays will have to be removed if a HDD is to be installed in a cage beneath them and reinstalled after the cables have been routed out of the way.


71 Comments
View All Comments
Larry Endomorph - Friday, March 28, 2014 - link
You're doing it wrong!Those line charts are useless for us color blind readers.
E.Fyll - Friday, March 28, 2014 - link
Uh, um, I am sorry about that?I cannot use any other type of chart to display several dozens of data points though and I cannot go with black/white line charts either; these would be great for a scientific paper but extremely out of place in an online editorial. However, I am open to suggestions.
scook9 - Friday, March 28, 2014 - link
I would think that in a world where the cheaper and better looking 750d exists this case is 110% unnecessary.....they are the functional equivalent this one is just uglier....and more expensive....Burticus - Friday, March 28, 2014 - link
Pricey! Venturing into Antec P183 pricing here, and I wouldn't put them in the same quality boat. This looks like a $99 case, tops.PEJUman - Friday, March 28, 2014 - link
It's a great idea to run a constant load for the thermal testing. I wonder why it took this long for someone to do it this way. I would also be interested at 1000W load for triple/Quad GPU & dual processors for cases that big enough for it. Although for most cases, 800-400W range is perfect.Some comments:
Can you post the test setup pictures for visualization? maybe schematic of the thermal loads location & temperature measurements.
The gravy on top would be total airflow thru the test, although I understand this one would be quite hard to capture since you would need some single inlet/outlet enclosure big enough to contain the case & some means to measure very low airflow around it (I don't think LFE will be able to measure flow rate this low, and other solutions are quite a bit more money, one can dream I guess...). This would allow some us to roughly scale the case performance with more/less fan(s) if we were to buy and build the said case.
Larry Endomorph - Saturday, March 29, 2014 - link
Add tick marks to the lines. Something like this:http://www.excel-easy.com/examples/images/line-cha...
SkyBum - Saturday, March 29, 2014 - link
In the first screenshot in the article, you can see a rainbow hue in the window panel. My 600T window had the exact same defect, making a large part of my motherboard look quite blurry. Most of the text on the motherboard is impossible to read through the defect. It's like it's blurred into triplicate.I sent screenshots to Corsair and left messages on one of their "support" forums but they never bothered to even reply.
SkyBum - Saturday, March 29, 2014 - link
Oops, first screenshot on the second page was what I meant to say...paul878 - Saturday, March 29, 2014 - link
That's a pretty expensive ugly case.nepenthes - Wednesday, April 2, 2014 - link
When I first saw this case, I thought "Damn, this looks beautiful." Large, see-through (to a degree) side panel that fully opens on a hinge? B&W colour scheme? Convenient, easy to clean dust filters? Space for large radiator setups? Other than the drive bays at the front, which I'm not too keen on, I think it's pretty much the next case I'll be using for my next build.Shame about the price though, there are a lot of cases around that price range it's competing against.